Using Light to Flatter Your Clients
Using Light to Flatter Your Clients
Not everyone has the same objective when photographing people. Some choose to focus on the artistic nature of an image. Others want the background and location to stand out. And there’s those who use dramatic light to bring out the emotion of an image. There’s no right or wrong way to be a photographer. There’s just your way. And you get to decide your main objective when capturing people. Me? I choose to use natural light to flatter my clients.
Creating inspiring pieces of art, pulling back to focus on the landscape and using intense light to capture emotion are all beautiful ways to capture an image! I very much enjoy experimenting with these on occasion. But not with clients, because it’s not my priority. My priority is to make my clients look good. Always. I want my clients to look good more than I want my photos to look good. Of course, if you make them look good, the photo will inevitably look good too. So, it works out. ;)
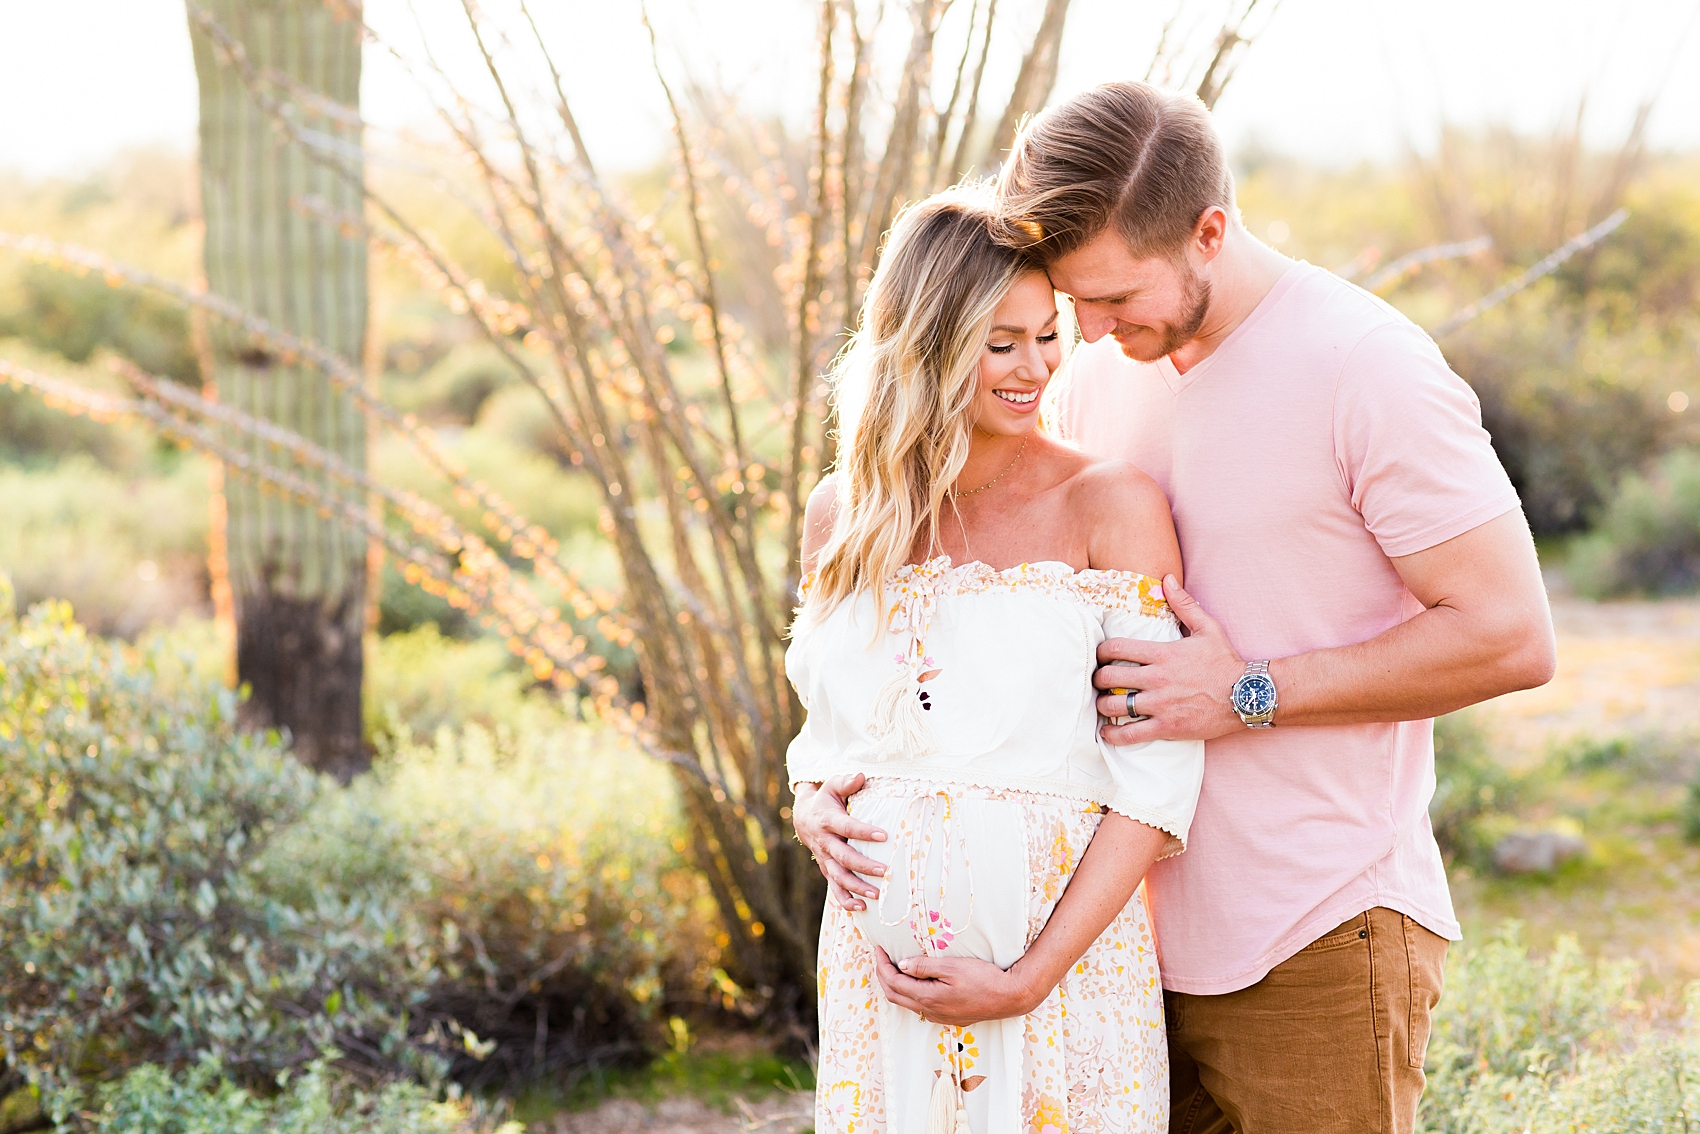
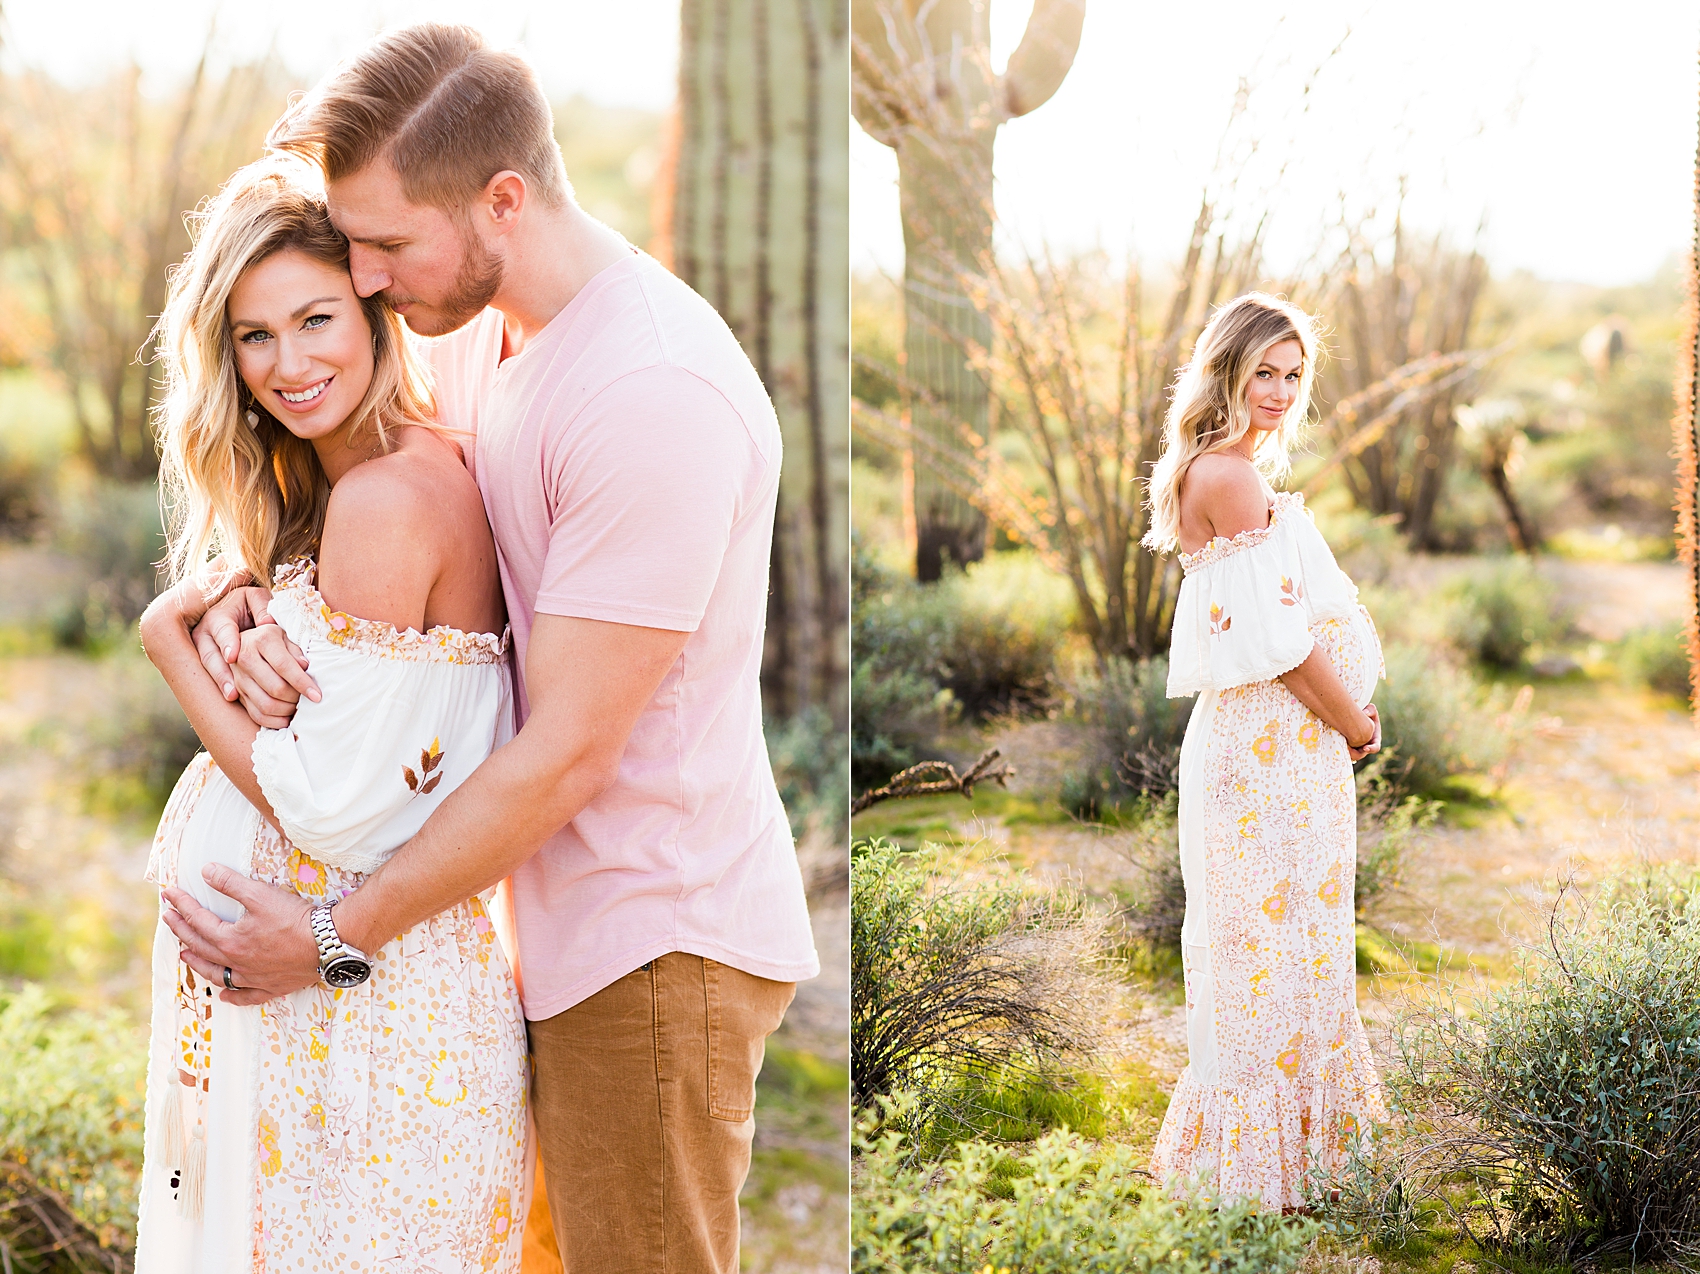
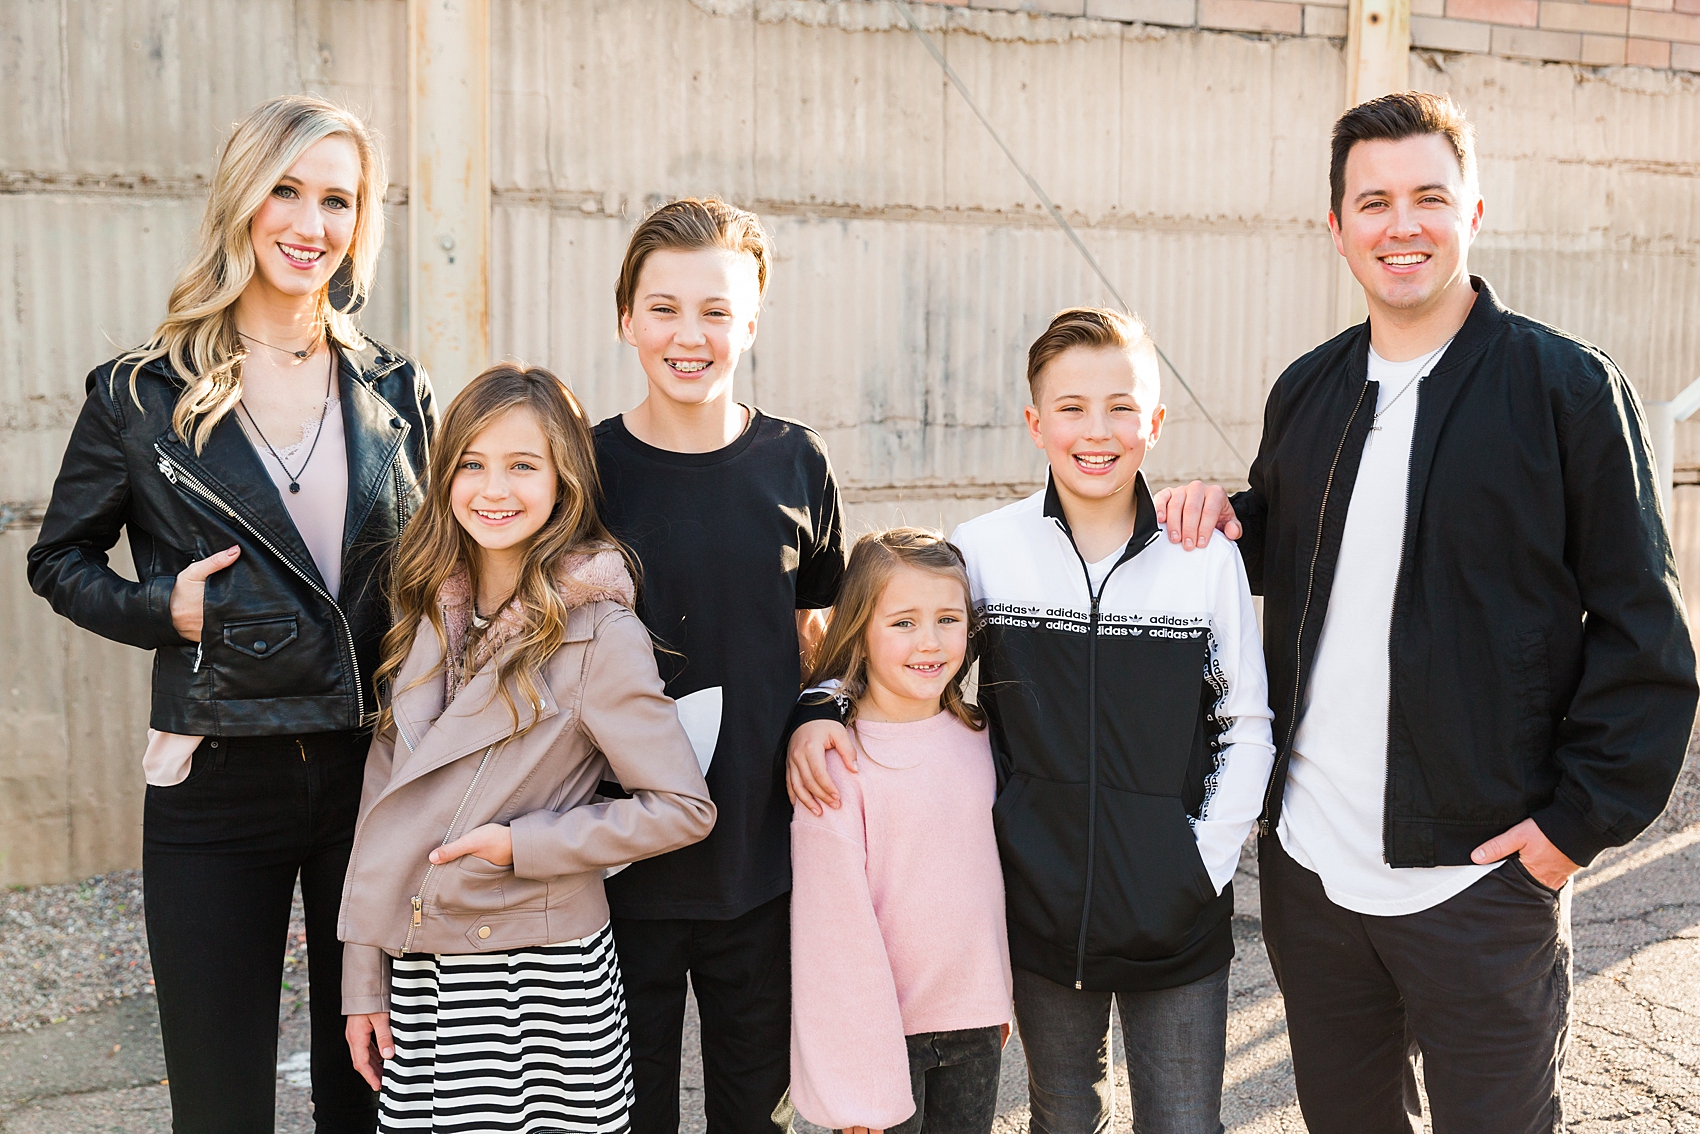
How do I accomplish this flattering look? It’s all about the lighting! Lighting changes everything. Good light can create beautiful coloring and true to life skin tones… and bad light can create uneven shadows and color casts. In even more simple terms, when we’re talking about flattering our subjects, good lighting makes people look good and bad lighting makes people look bad. And when the people in the photo are the focus of the photo, they need to look good! I’m going to share how I use light to flatter my clients!
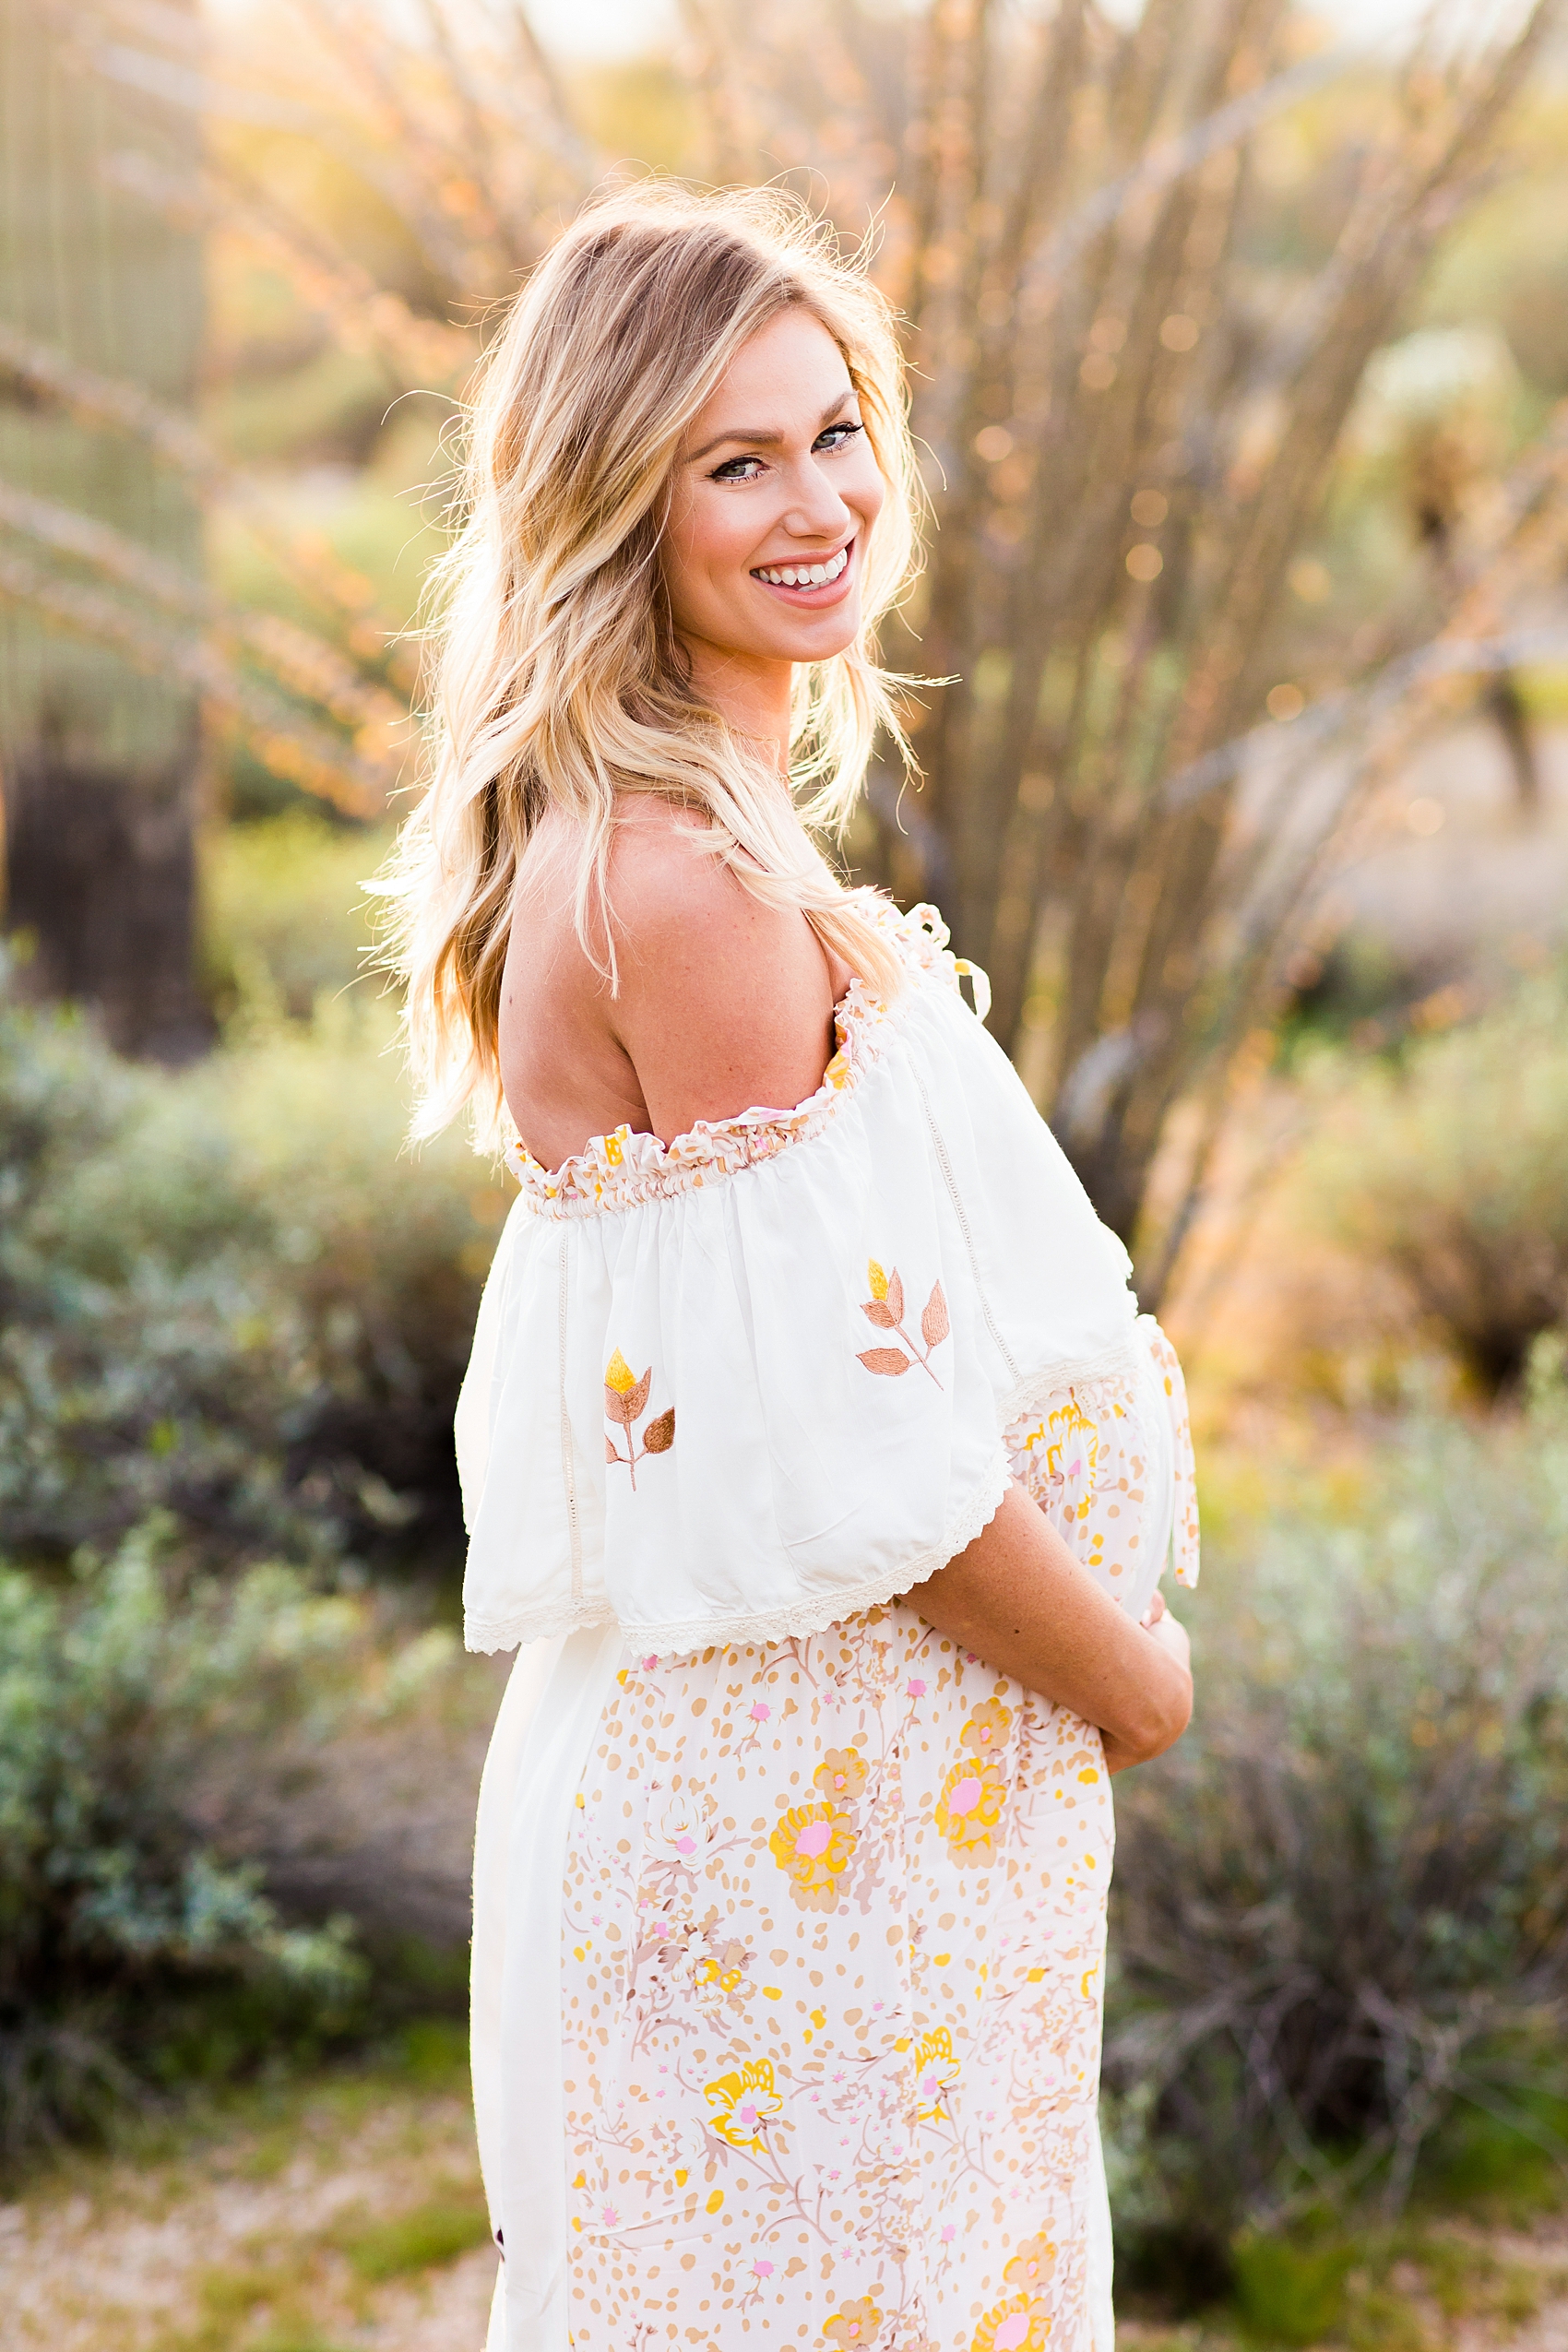
3 Types of Natural Light to Flatter Your Clients
1. Sunlit Backlighting
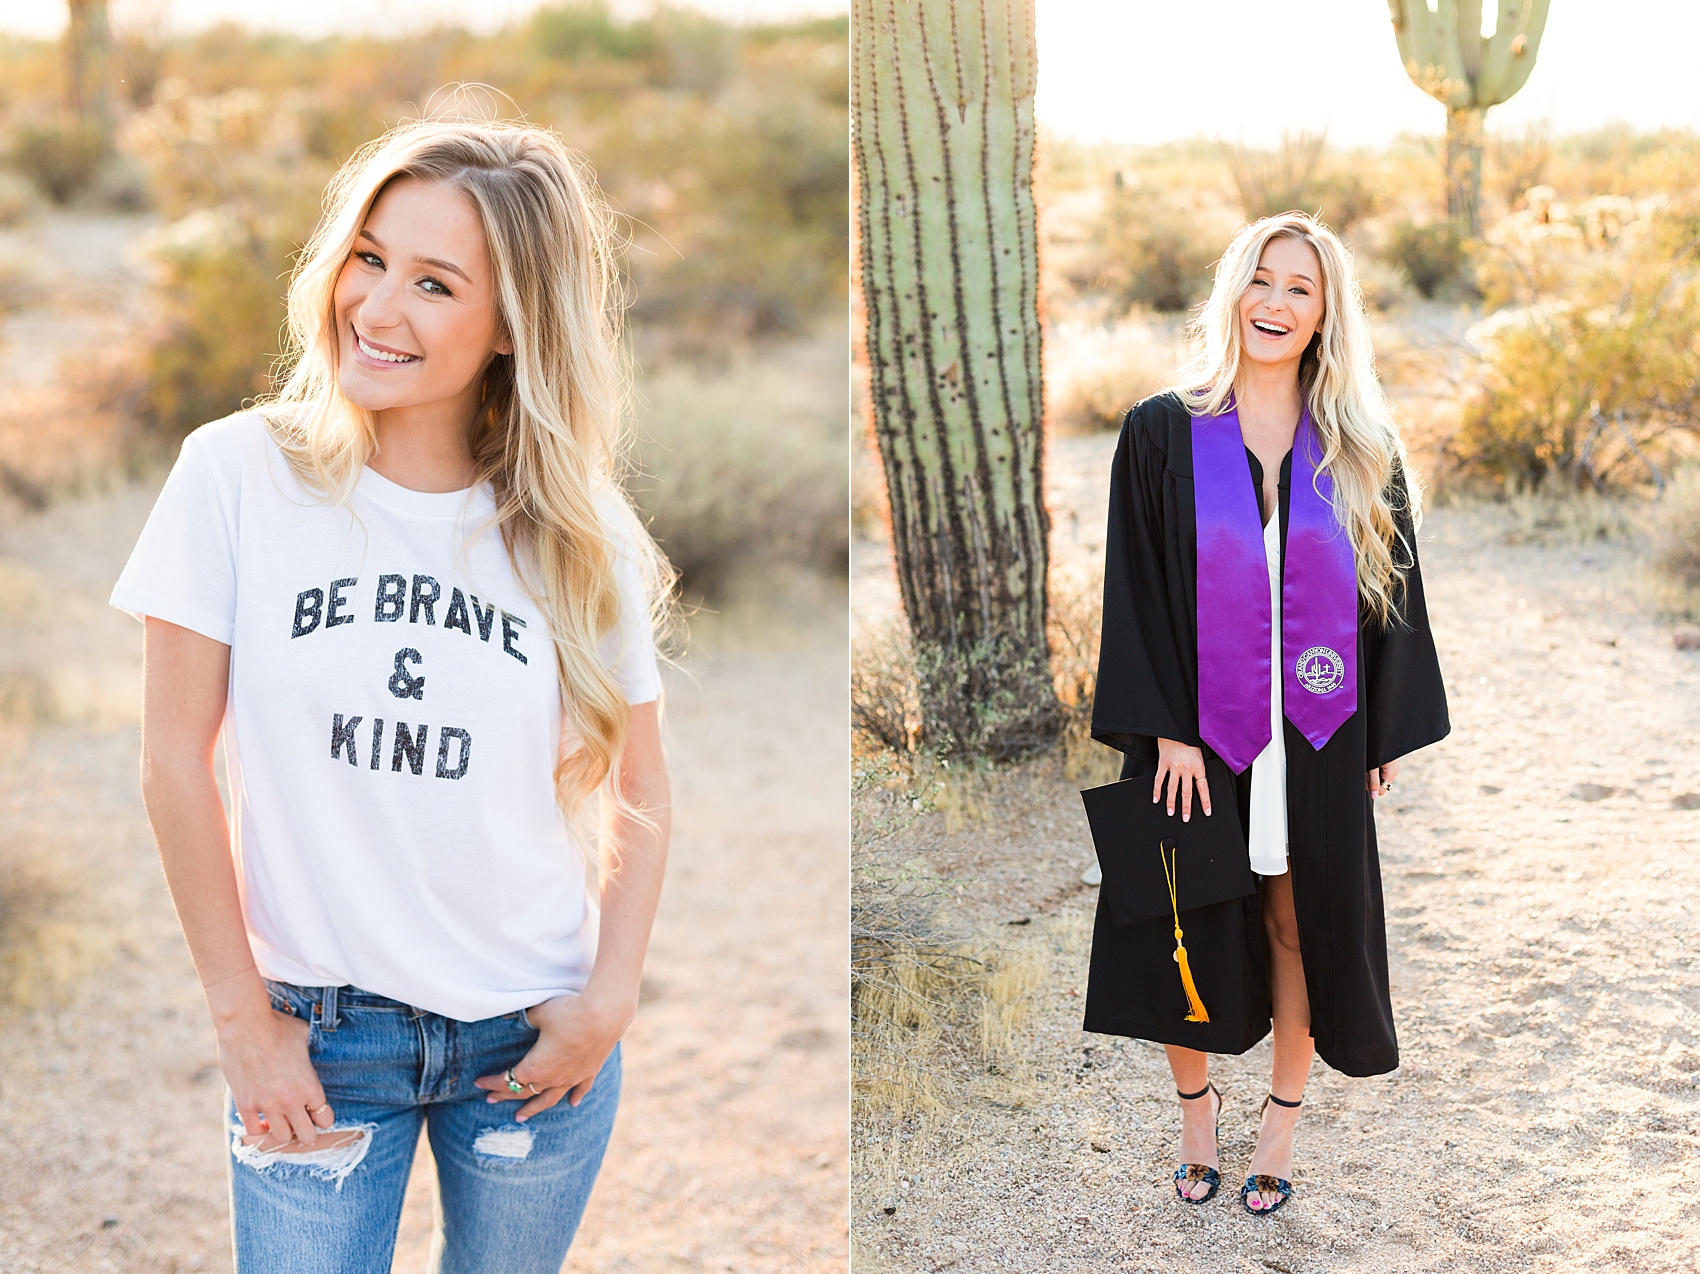
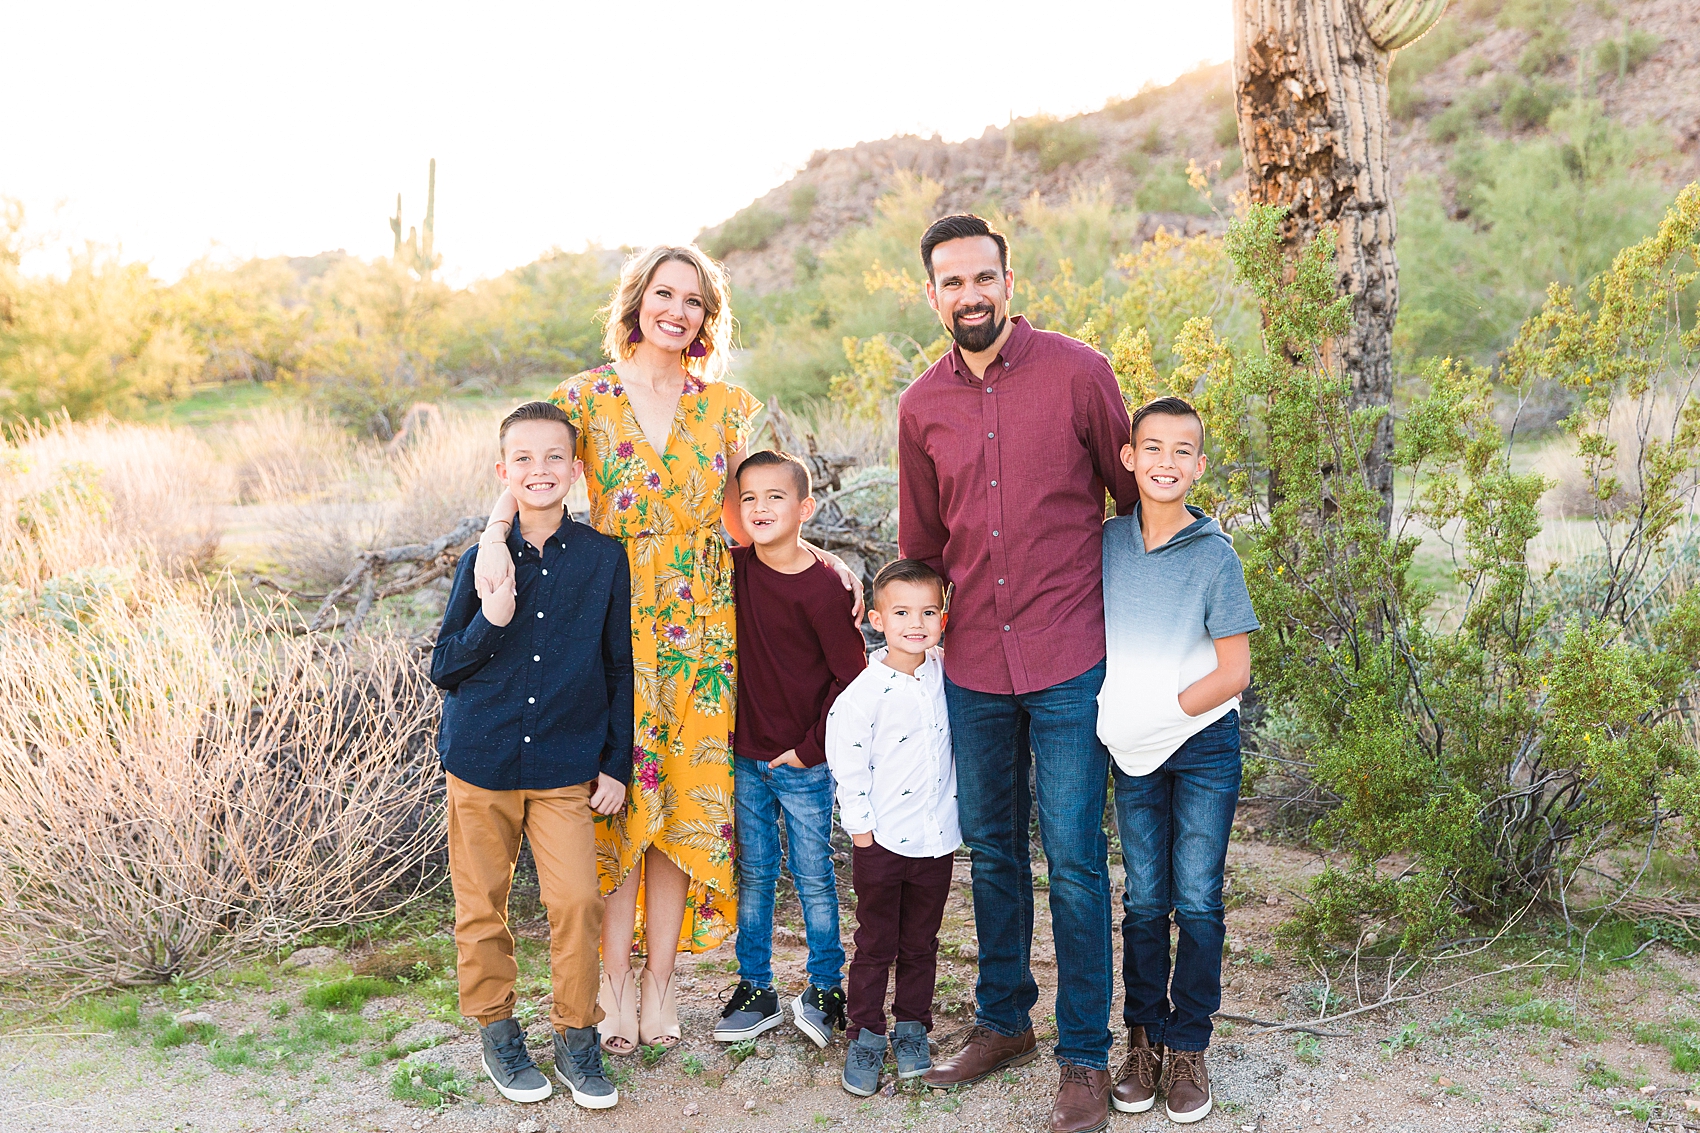
Backlighting with natural light is when you use the sun to illuminate the back of your client. When you’re shooting outside in the sun, you’ll face the sun and then have your clients face you. You’ll see the light hit the back of their hair and body that almost creates an outline, this is backlighting. Why is backlighting flattering? It separates your client from the background and brings the attention where we want it, on them!
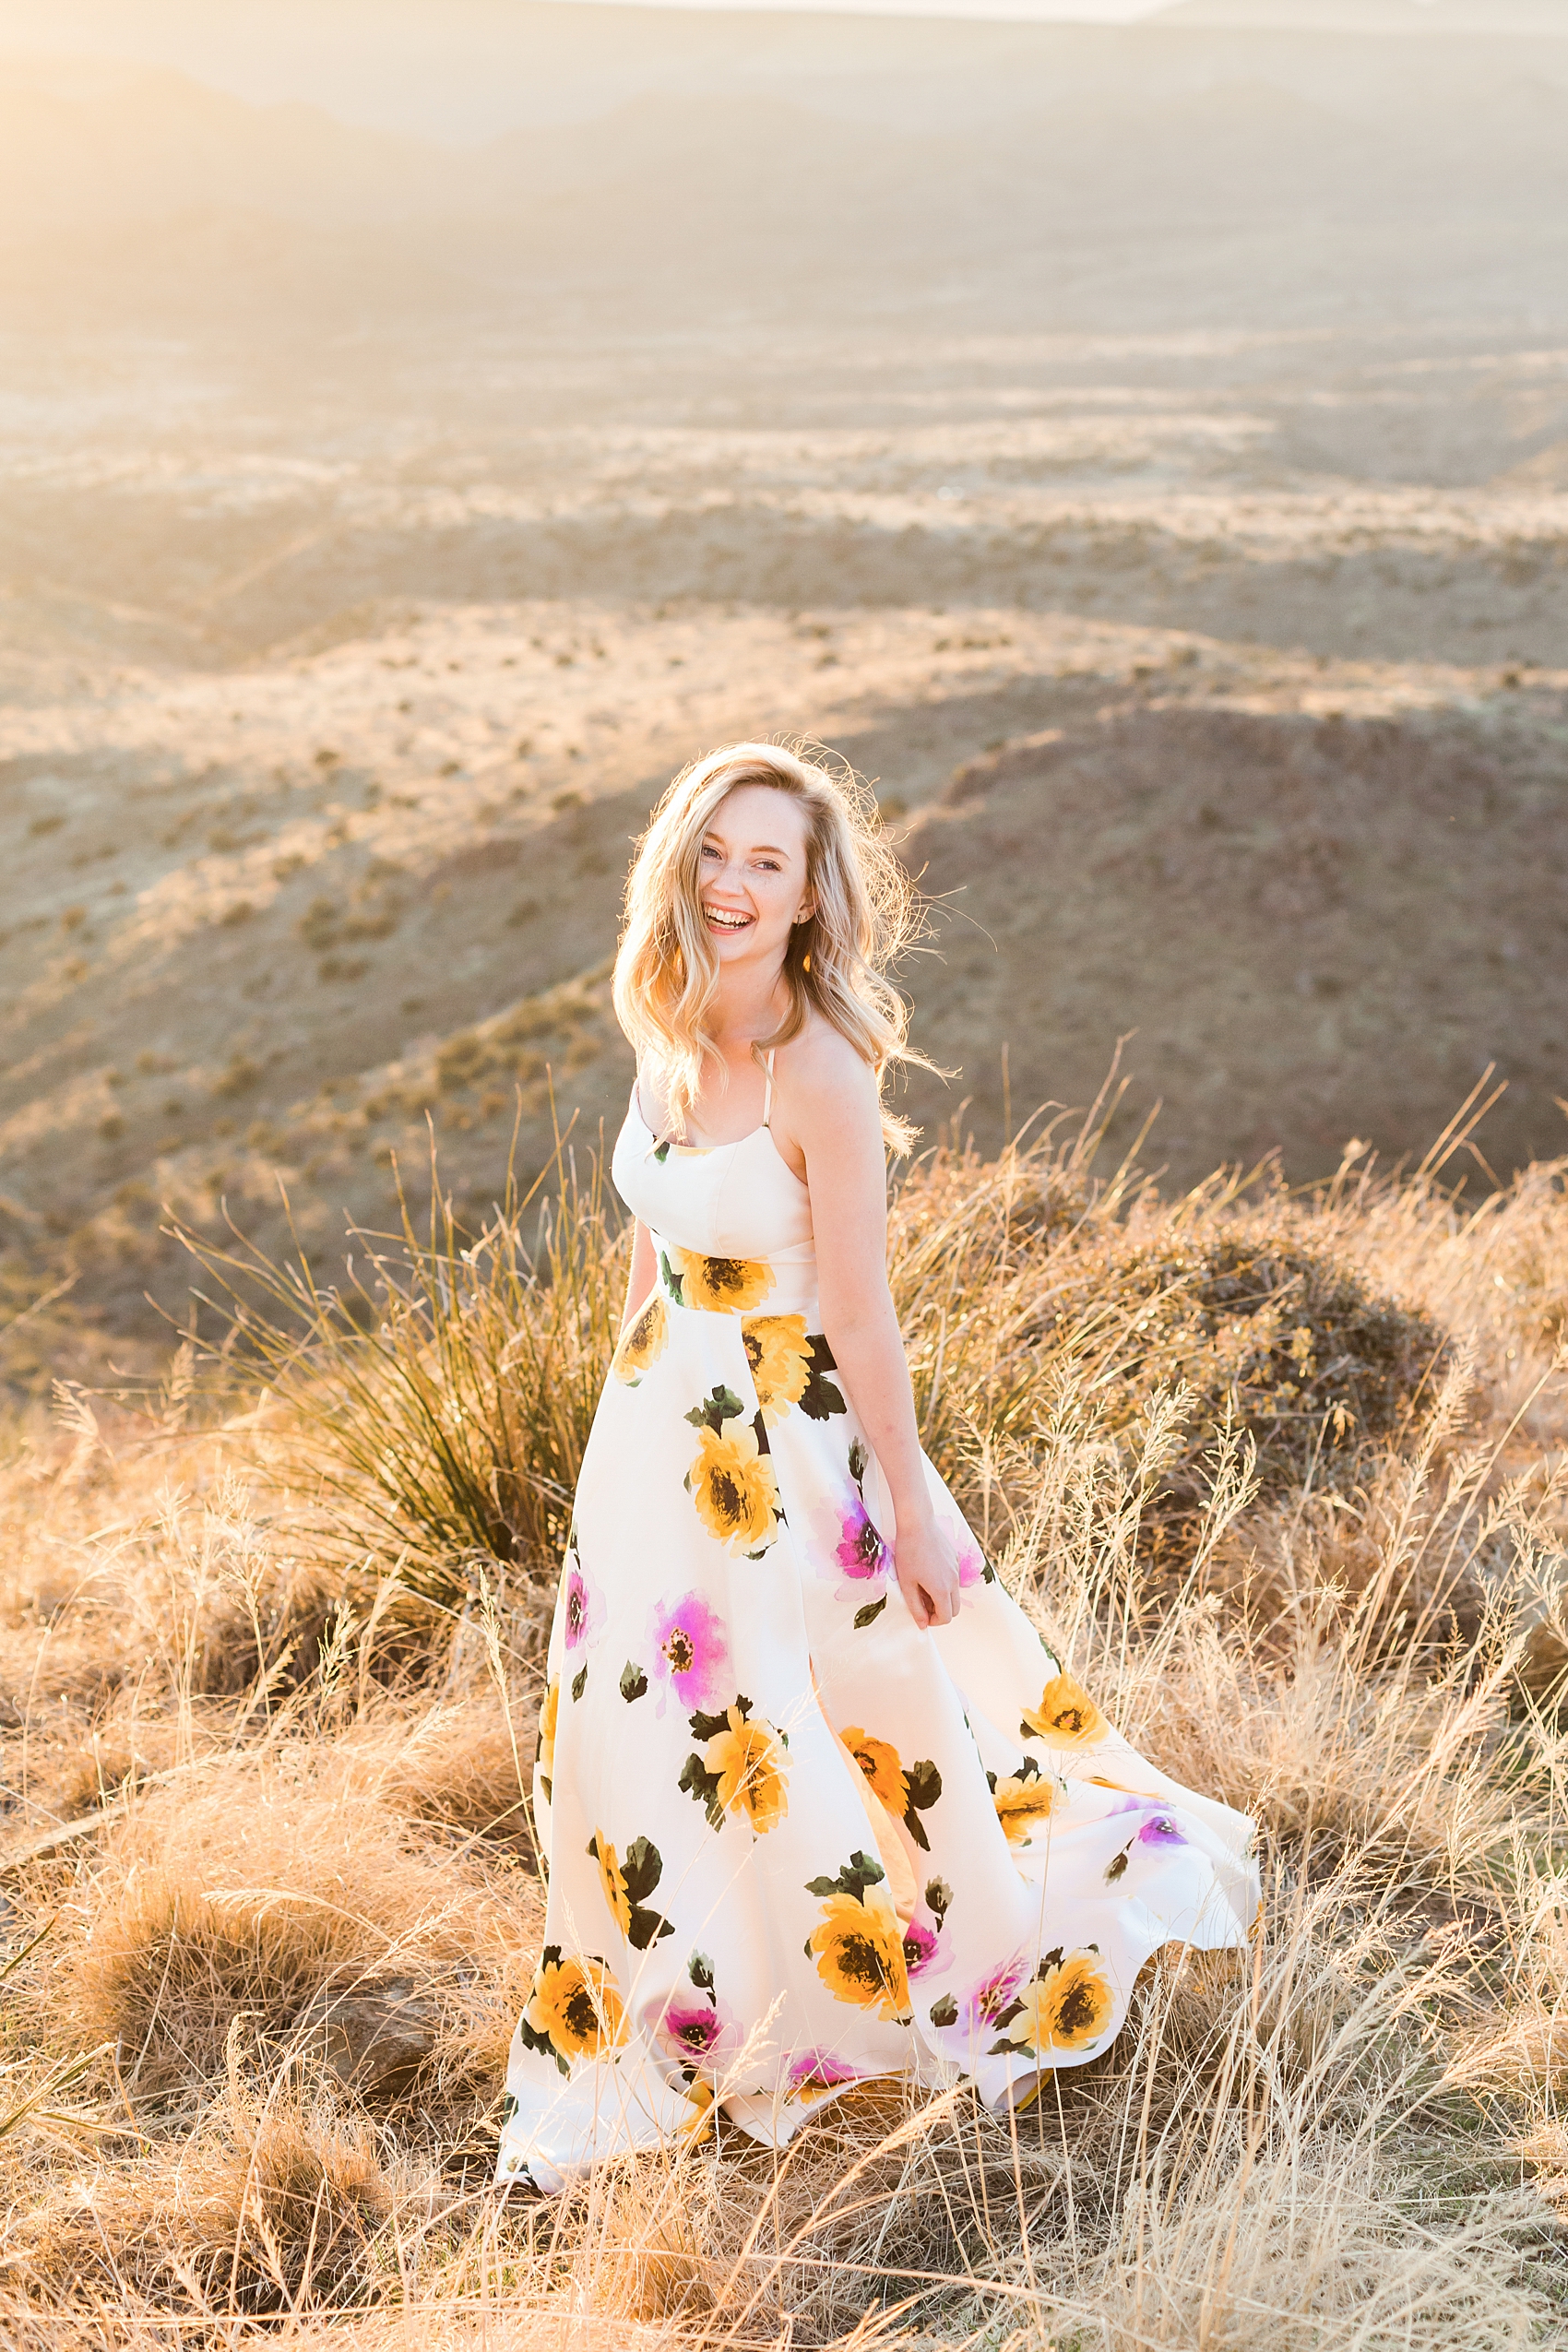
Notice how the sun is not directly behind my clients in any of these photos. It is behind and a little to the side. A common rule to go by is to position your subjects right in front of the sun and then for you to reposition to a 45 degree angle from them. This gives them that backlit glow that we want, but it doesn’t let the sun over power the shot. I’m a fan of sun flare in images, I think it’s beautiful and captivating and I love to play with the light! However, for the majority of my photos, I want the focus to be on my clients. When the light from the sun is too strong behind your clients, it can cause a haze that takes clarity and focus away from them.
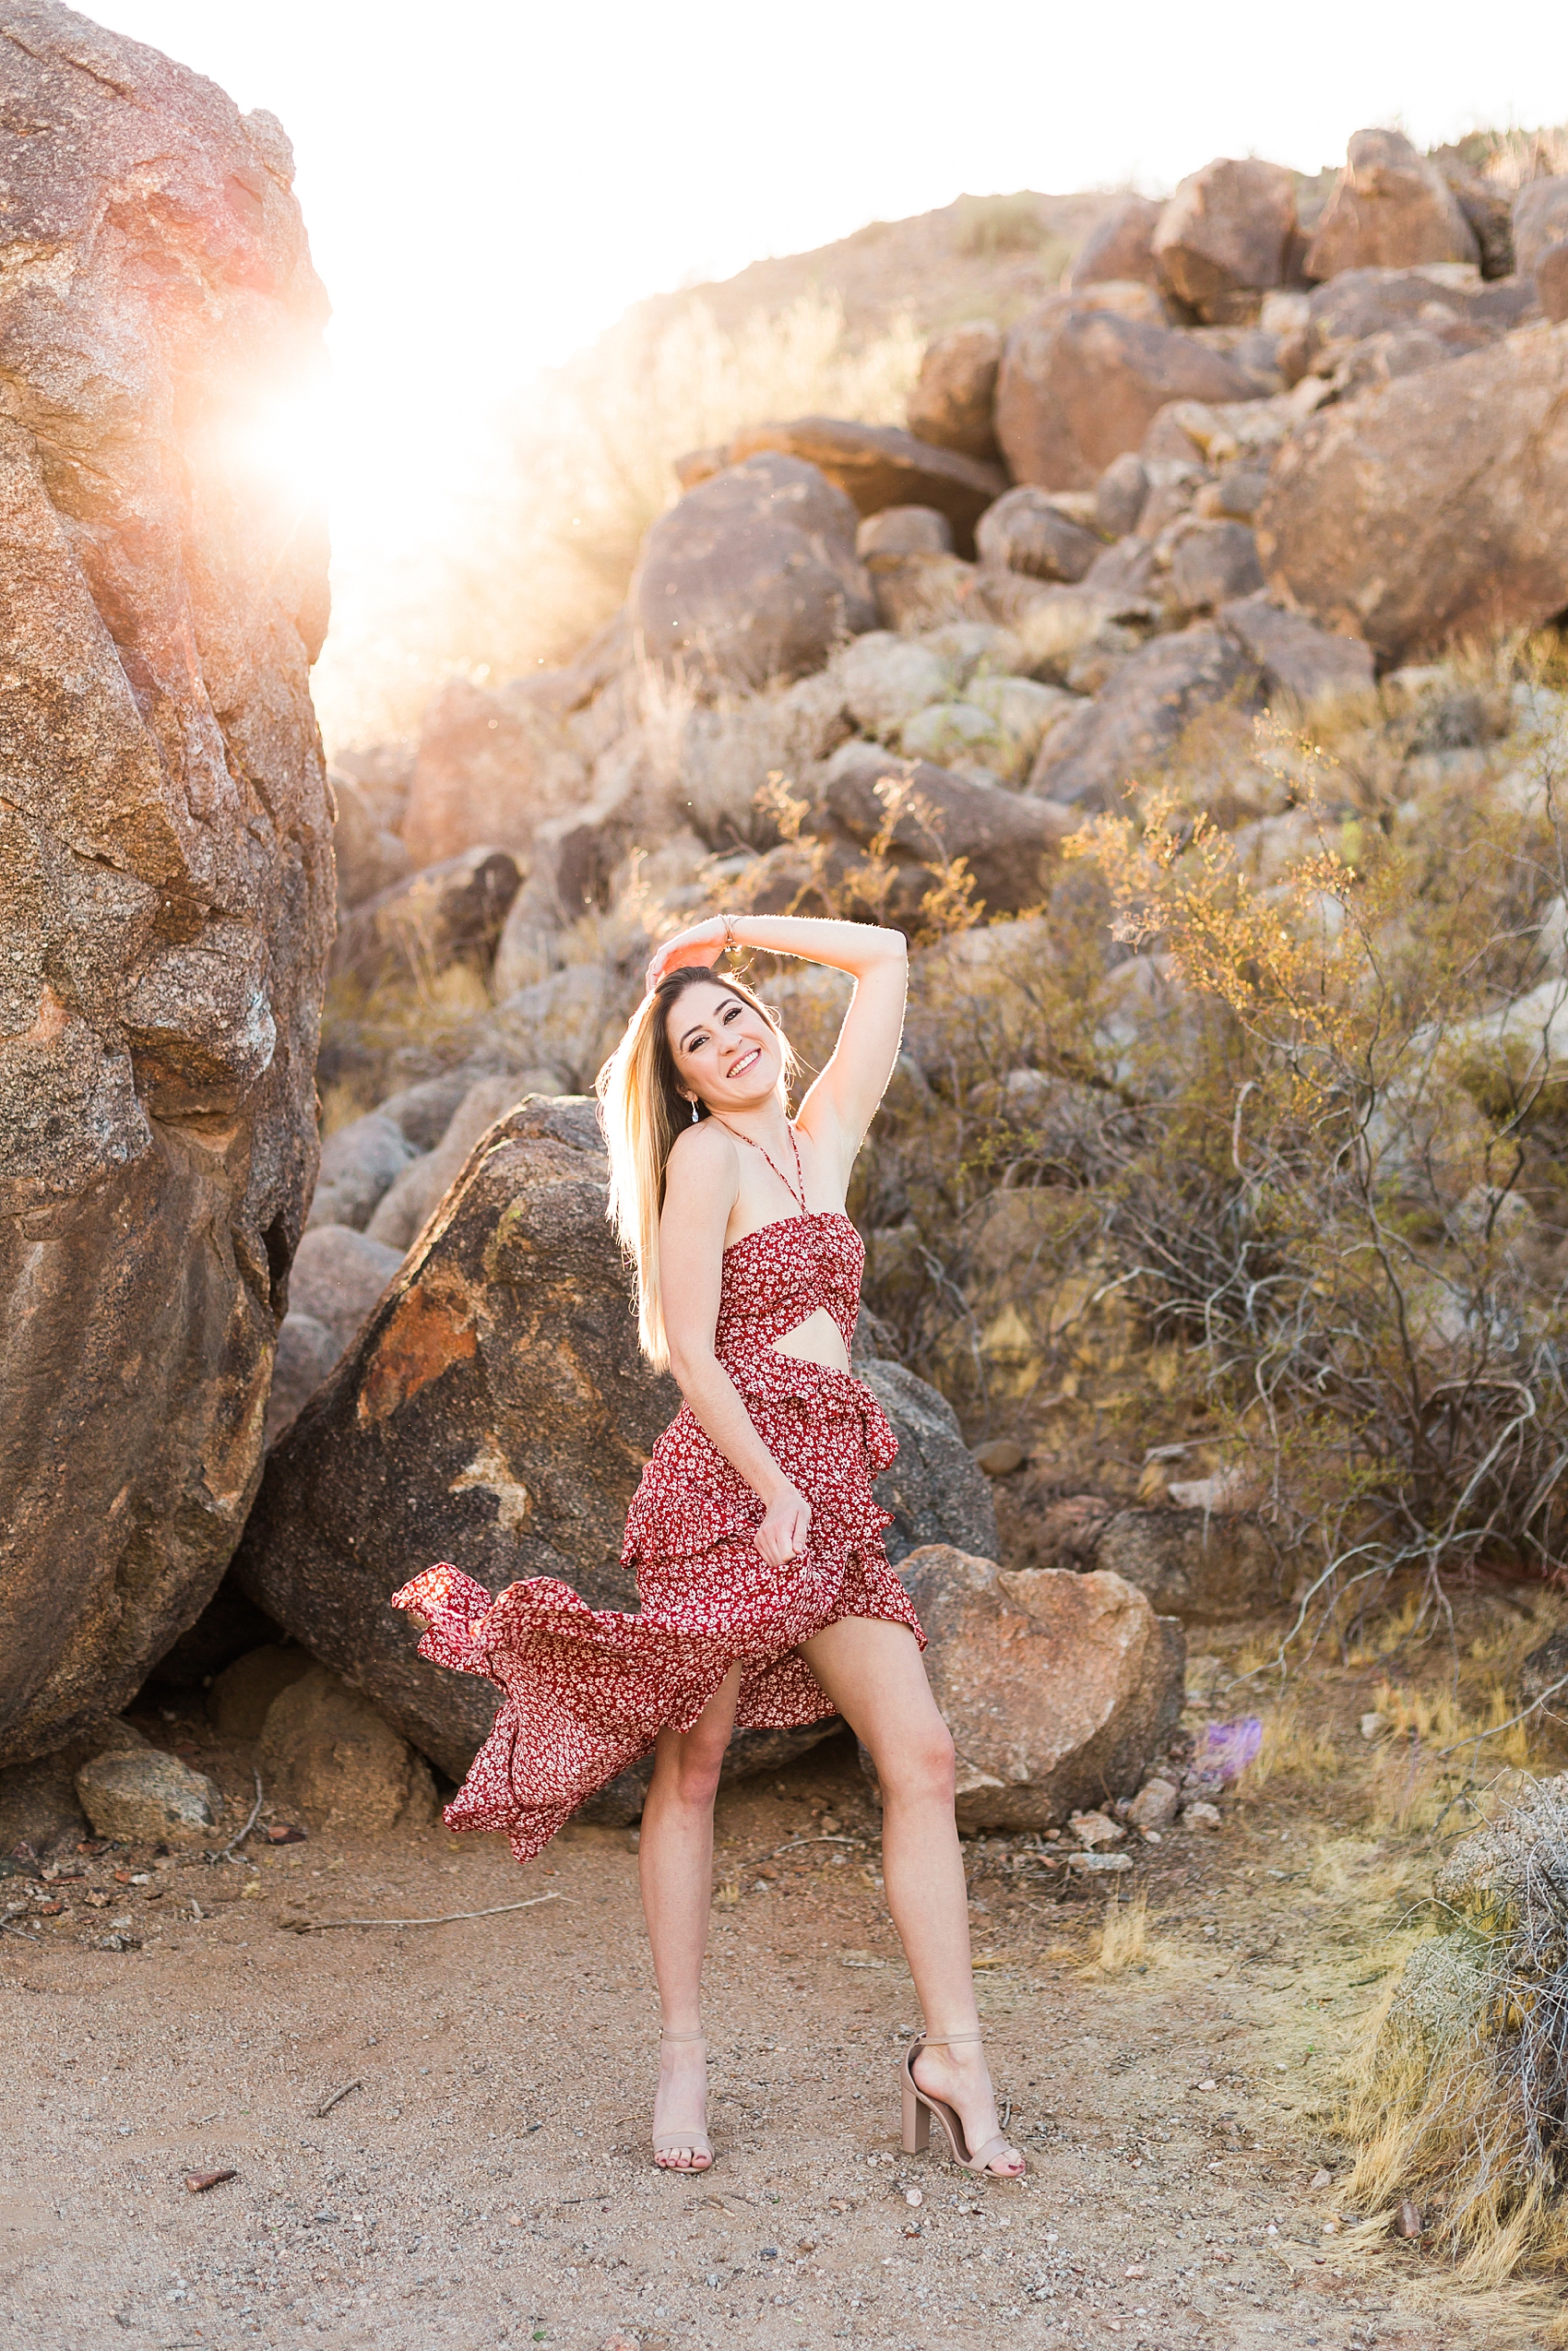
In this photo below you’ll notice that the sun is almost directly behind her. I broke the rule, but with a purpose. We are getting that beautiful sun flare but it’s not taking over and demanding the focus of the photo, it’s simply adding to it. I was able to do this because I’m intentionally using the boulder to block a portion of the sun and have positioned myself in a place where I can get the beauty from the flare but not the distraction and haze it can cause.
2. Open Shade
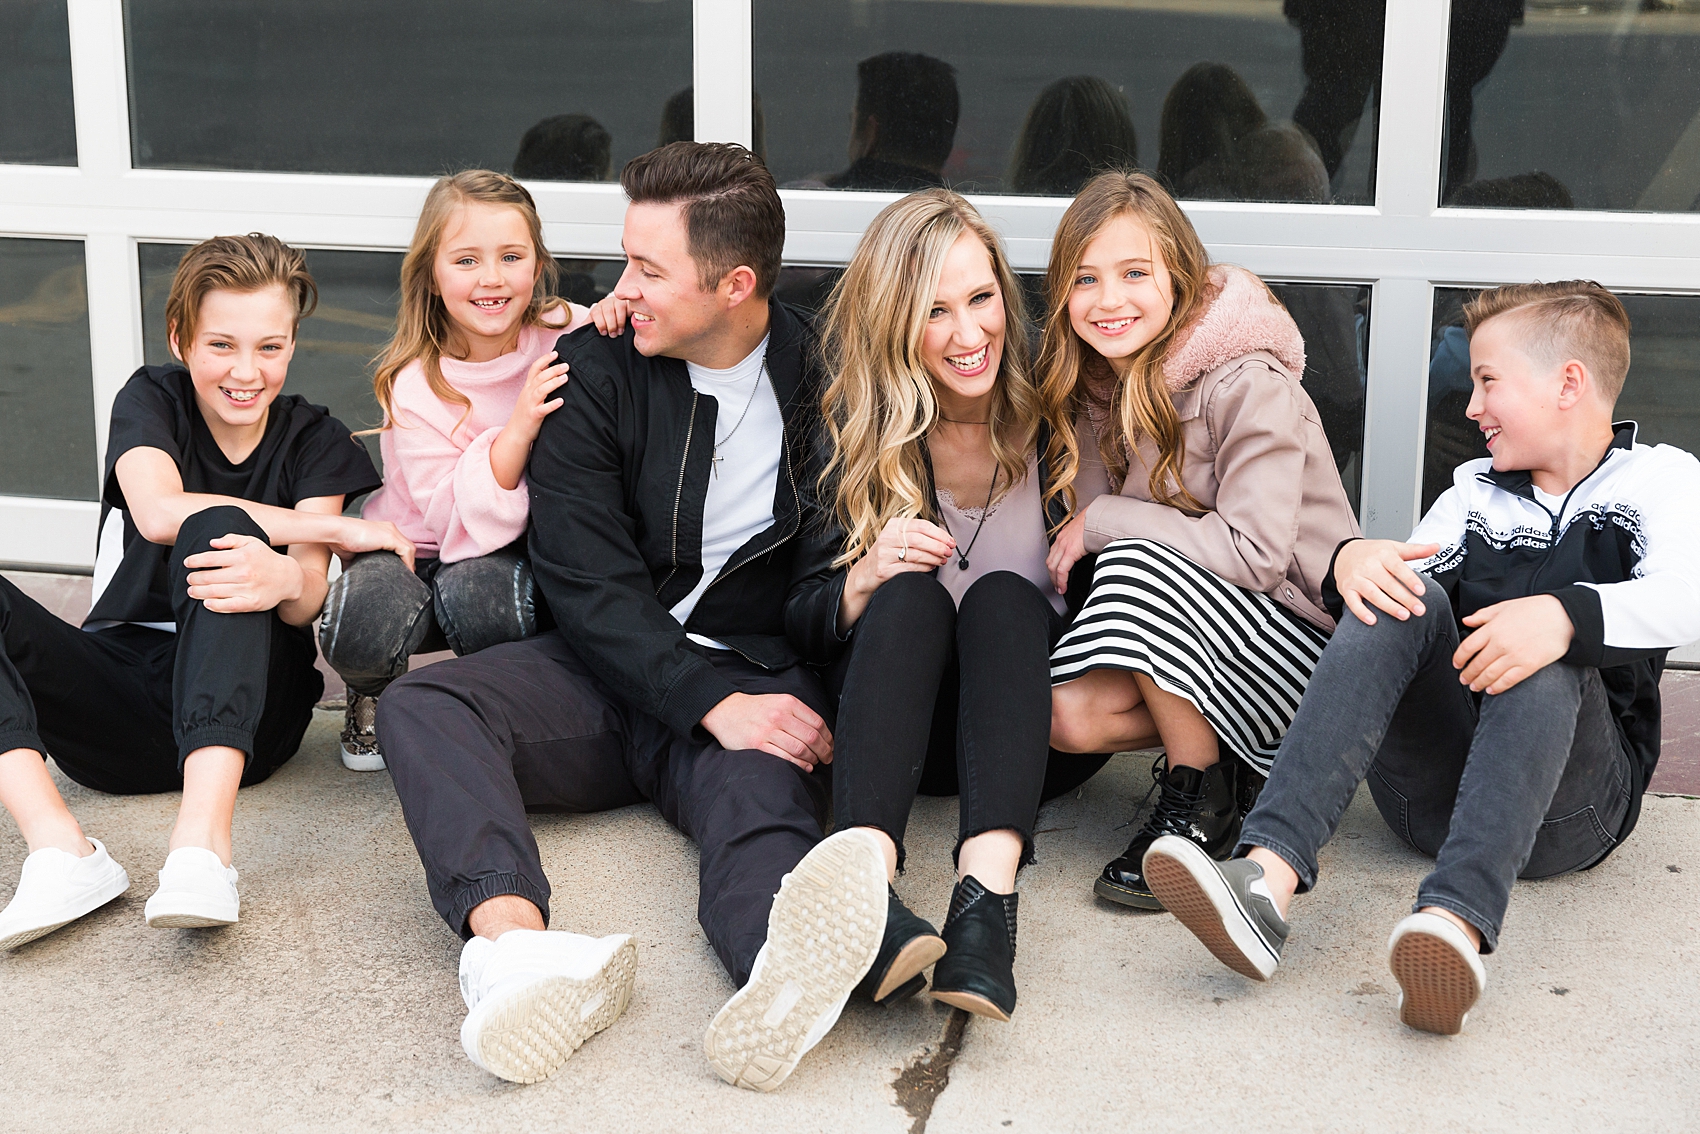
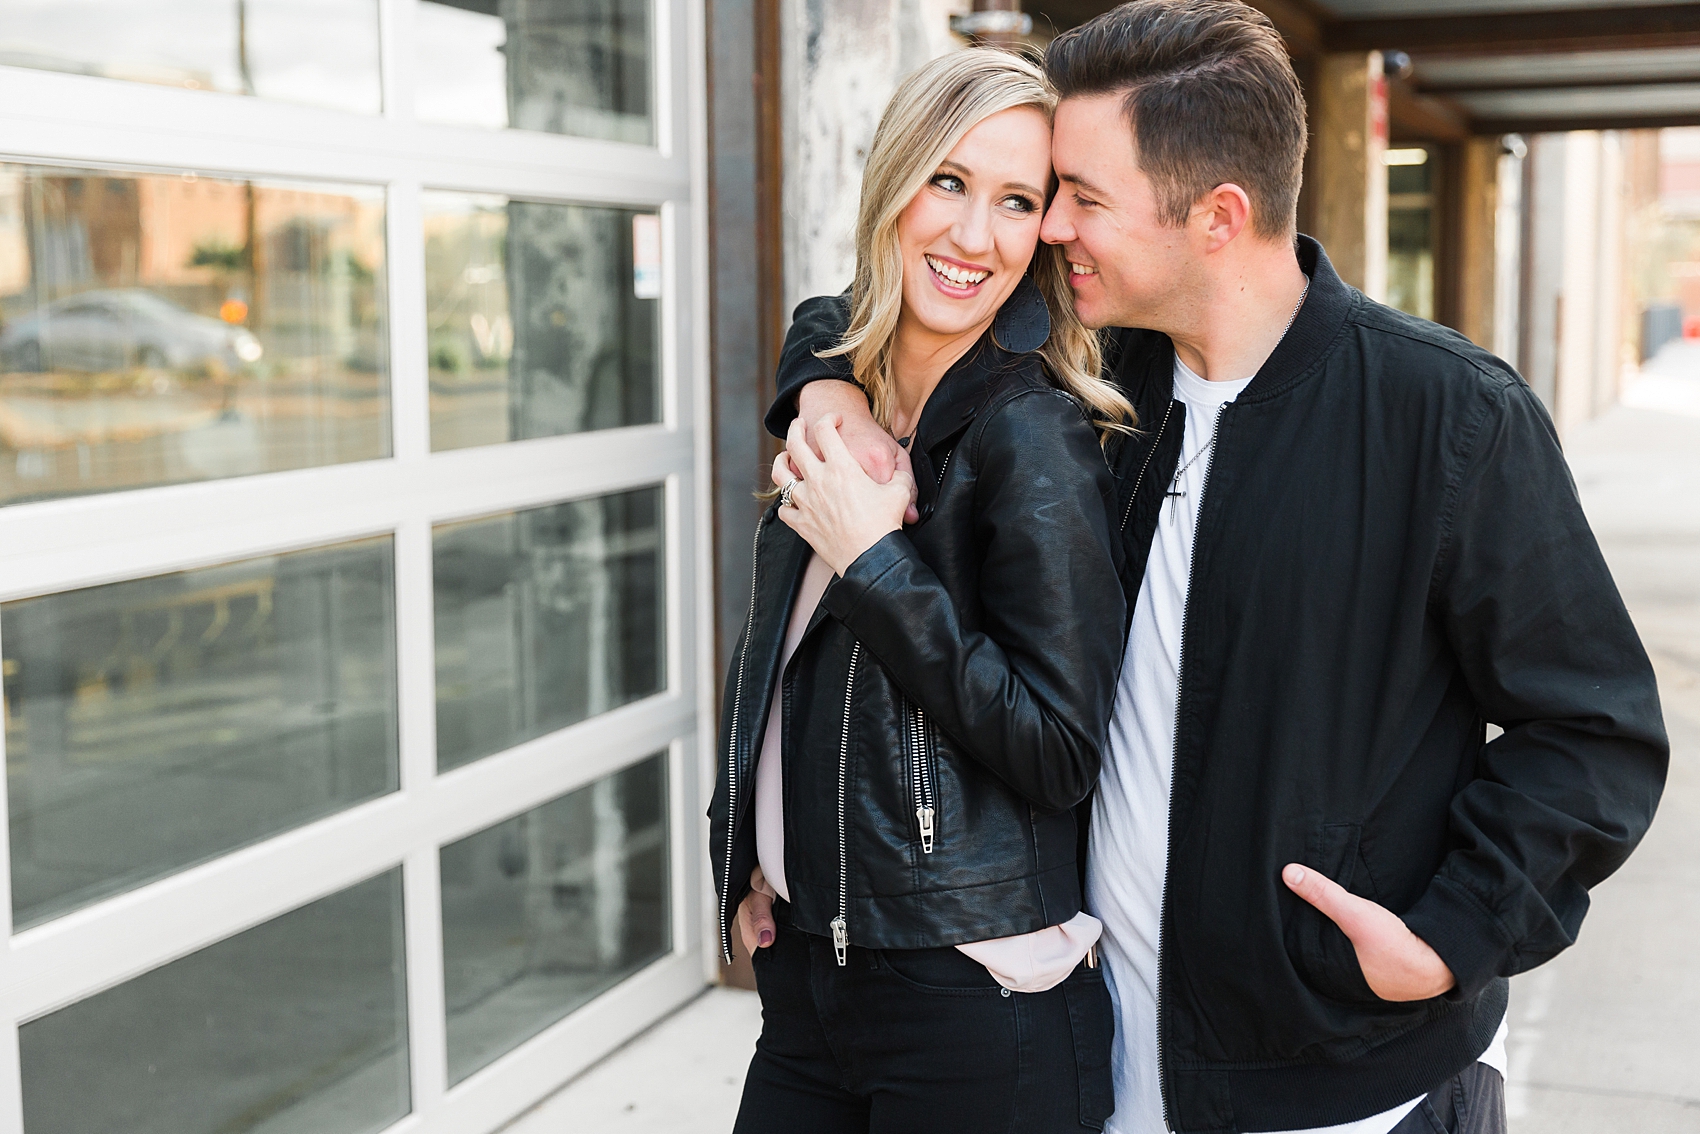
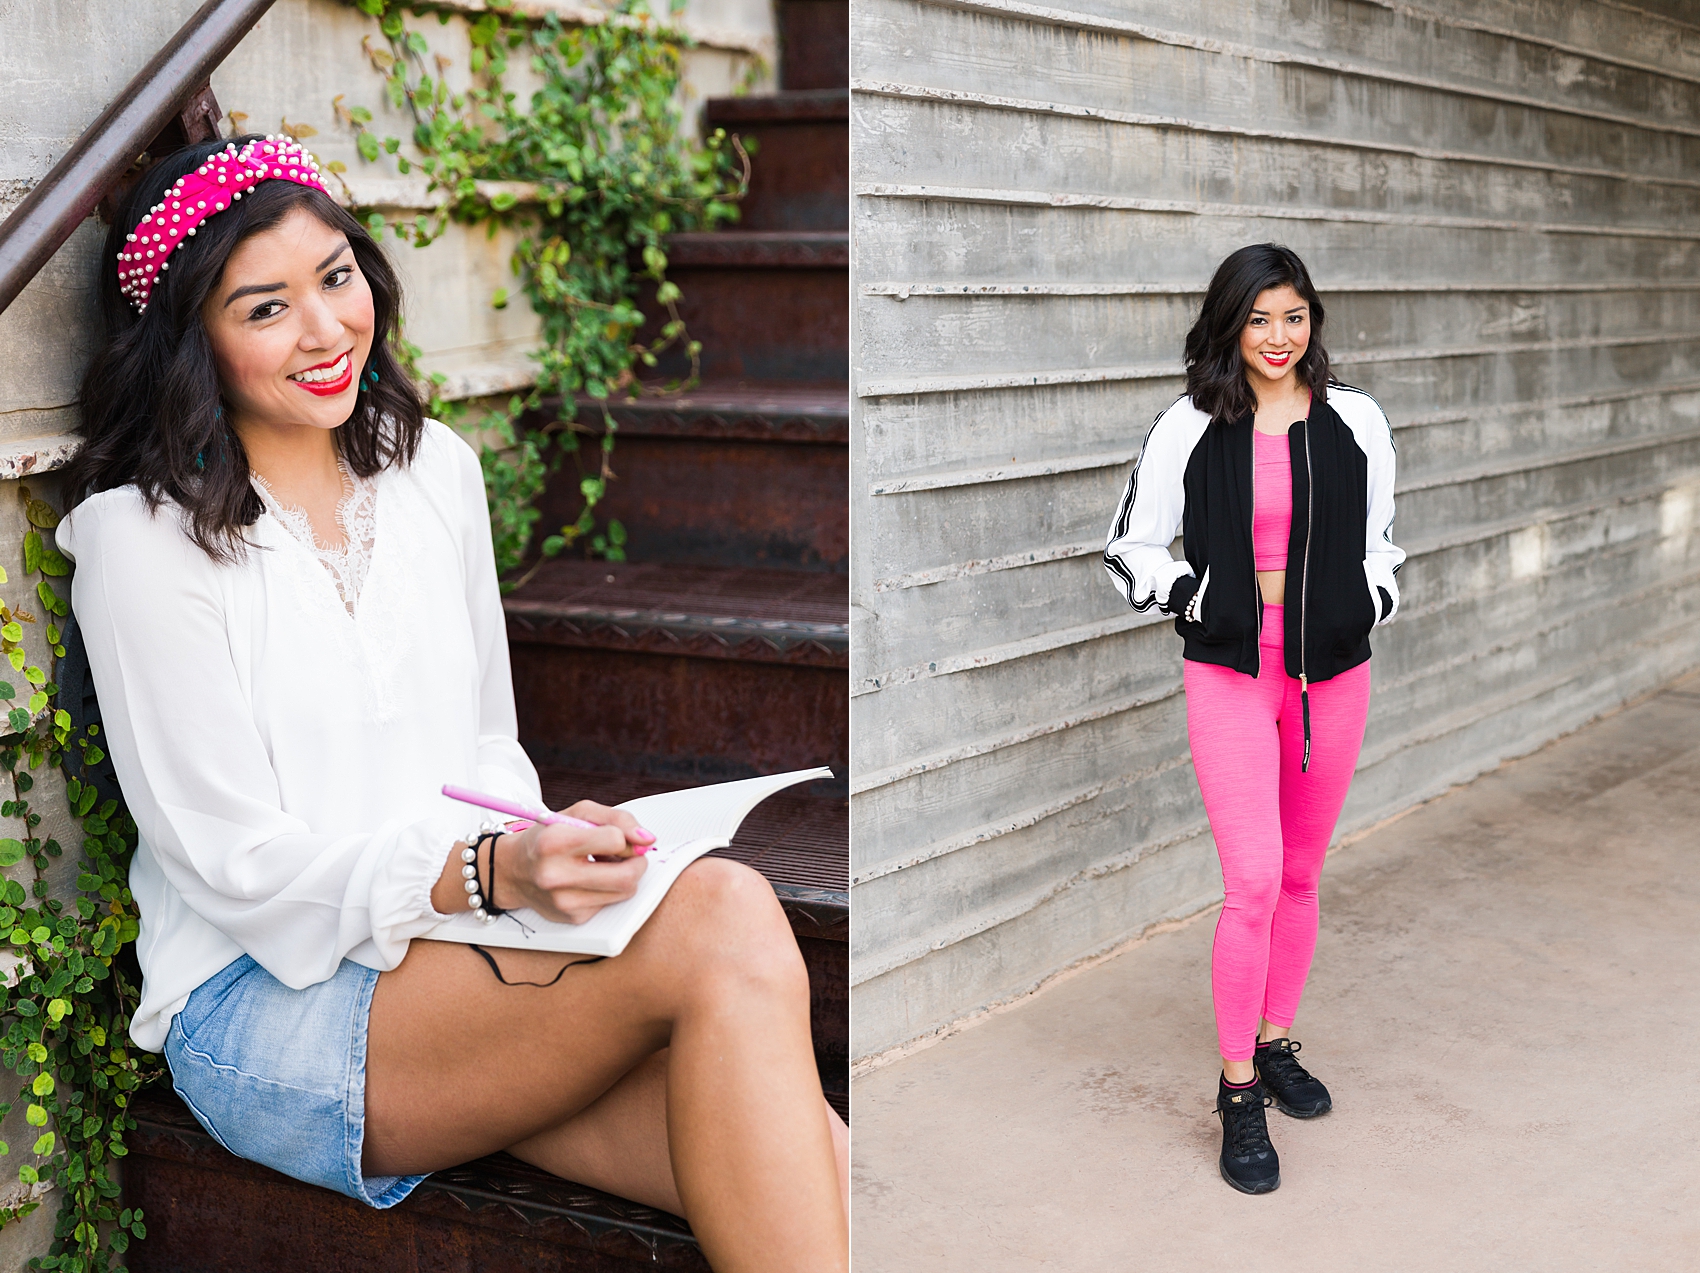
Open shade doesn’t simply mean shade. More specifically, open shade is when your subject is in the shade where the direct sun isn’t hitting them, but also where they are facing out towards the open sky. Hence, open shade. All shade is not created equal. I think that is often one of the most common misconceptions about shooting in shade. Being in shade doesn’t give you free rein to shoot at any angle, you still need to be intentional about the direction of light that is able to access the front of your subjects.
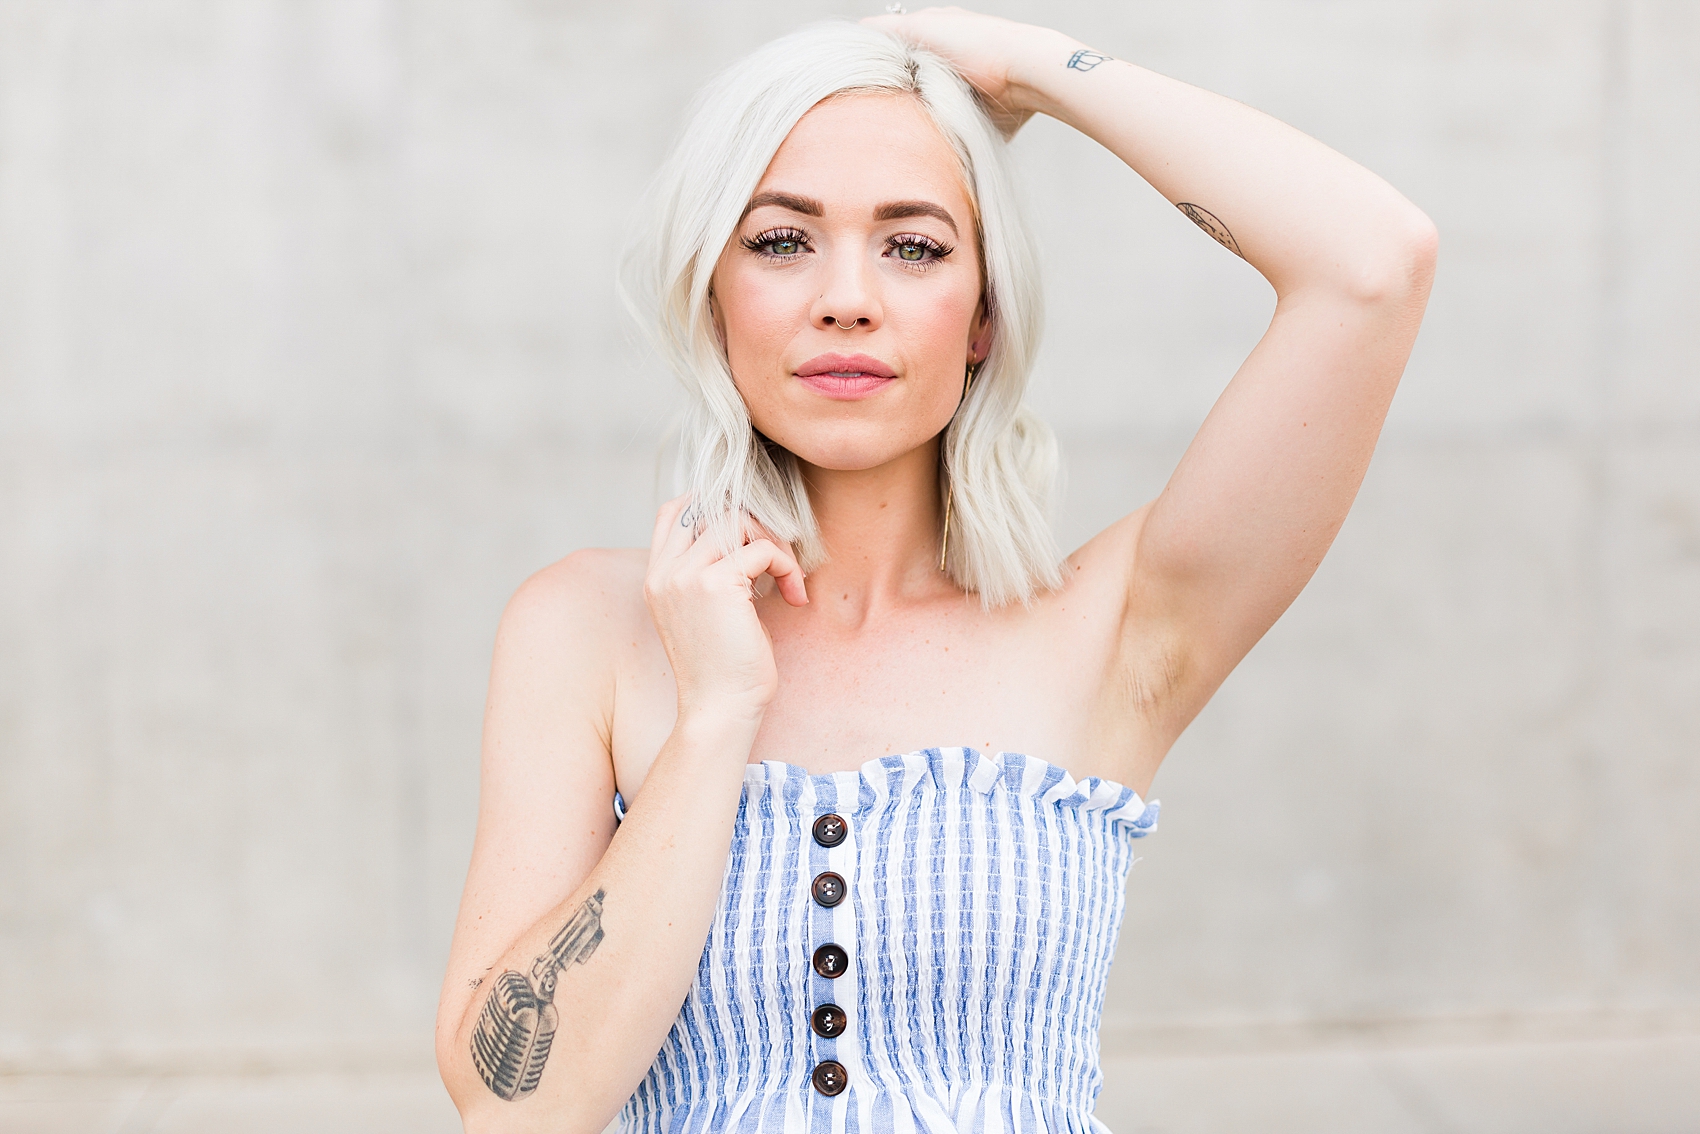
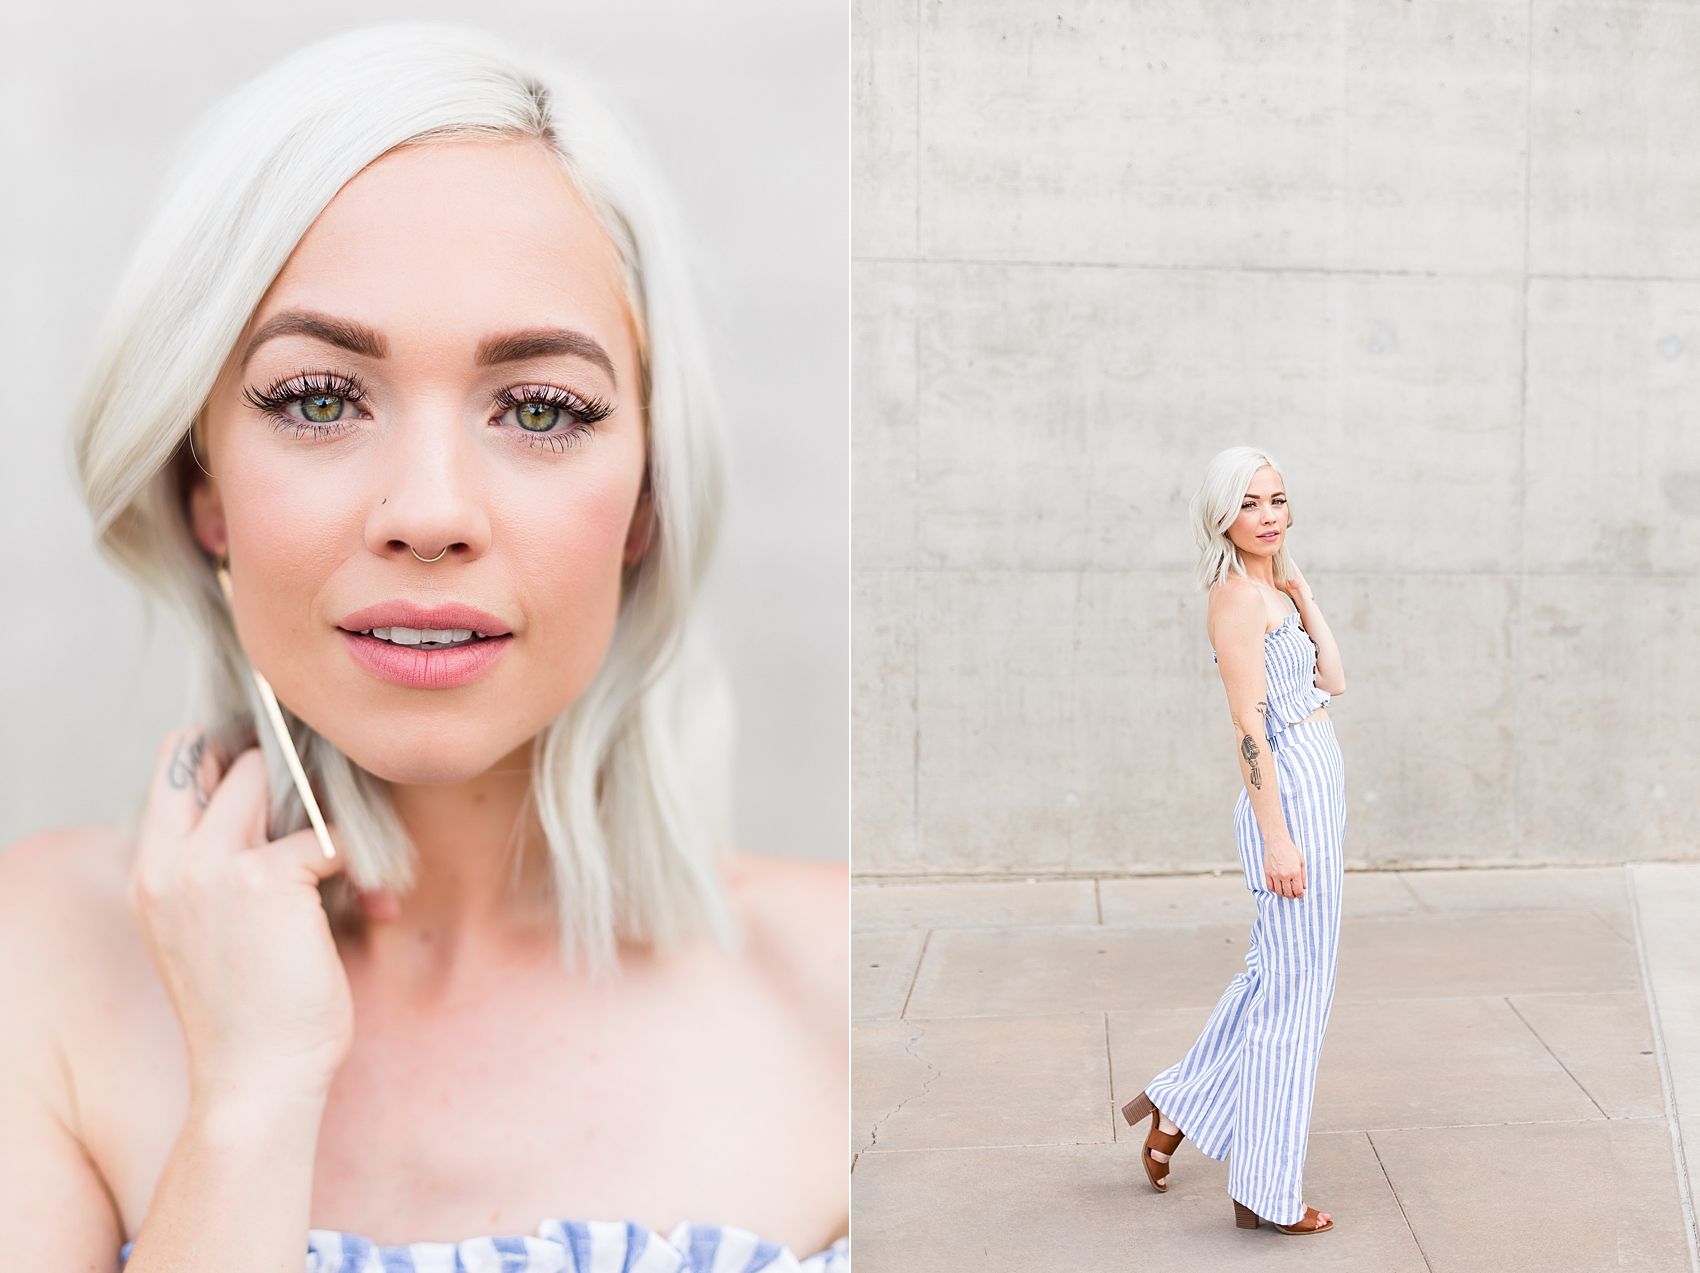
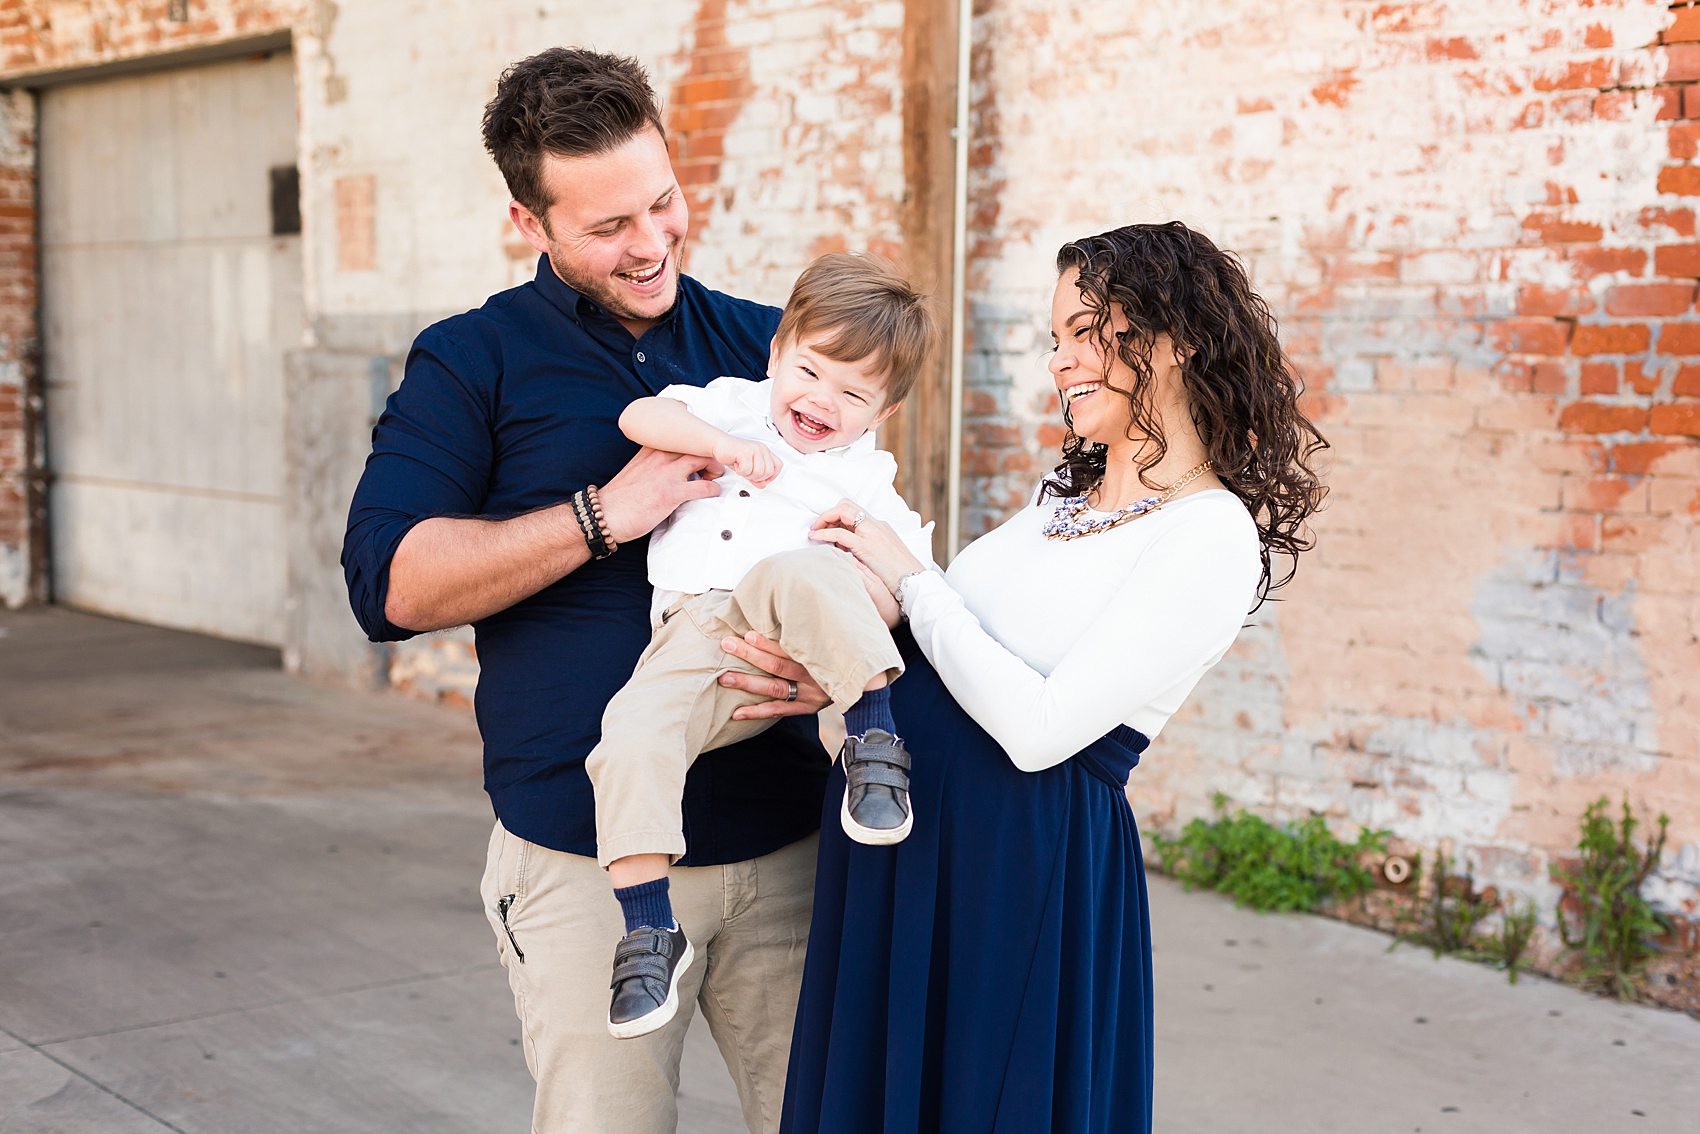
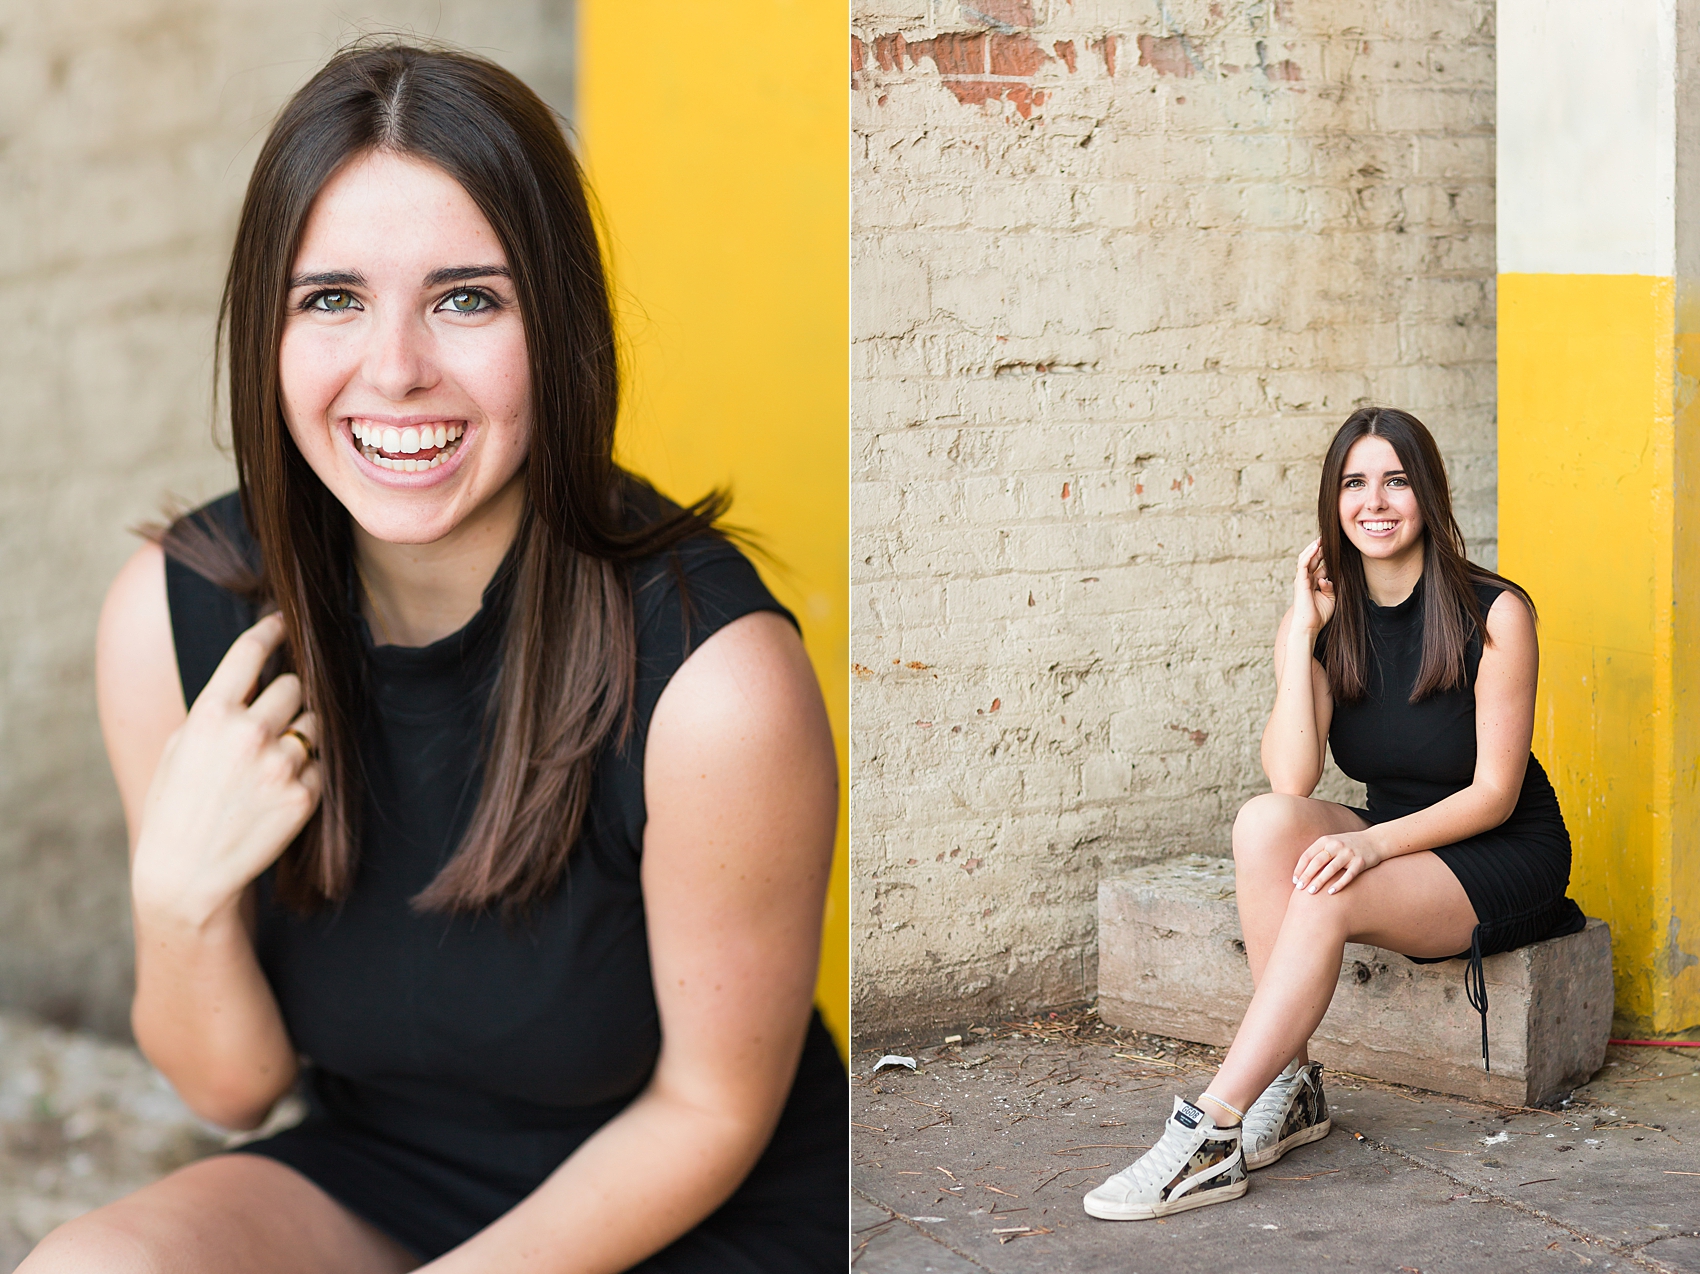
Once you’re in a shaded area, take a look around. What’s behind you? If there’s a large building or trees or anything behind you that could be blocking the light from the sky from hitting the front of your subjects, you’re not in open shade. Just as much as we need to pay attention to what is in the frame behind the subject, we also need to pay attention to what is outside of the frame hindering the light from the subject. If we want to flatter our clients, we need to use even light to do that.
3. Light source glow
As far as I know, I just made this term up, but it makes sense to me for what I’m about to describe, so we’re going with it! ;) The last kind of lighting I want to talk about has to do with multiple kinds of lighting. If you’re shooting outside on an overcast day, inside or right after the sun has set… then this light source glow tip will apply to you! In all of the types of lighting I just mentioned, there is no direct sun. So, in order to get the most flattering light on your subjects, you’ll want to face them toward the light source. Since the light is limited in all of these lighting situations, you want to get as much light on them as possible.
OVERCAST
On an overcast day you’ll want to find where the sun should be, and is hiding behind the clouds, and turn your client towards it. Since overcast days are darker and aren’t able to provide as much light, we want to fully use the limited light that is left! Just keep in mind what we talked about in the “open shade” section. Make sure there is nothing behind you that is blocking that light from hitting them!
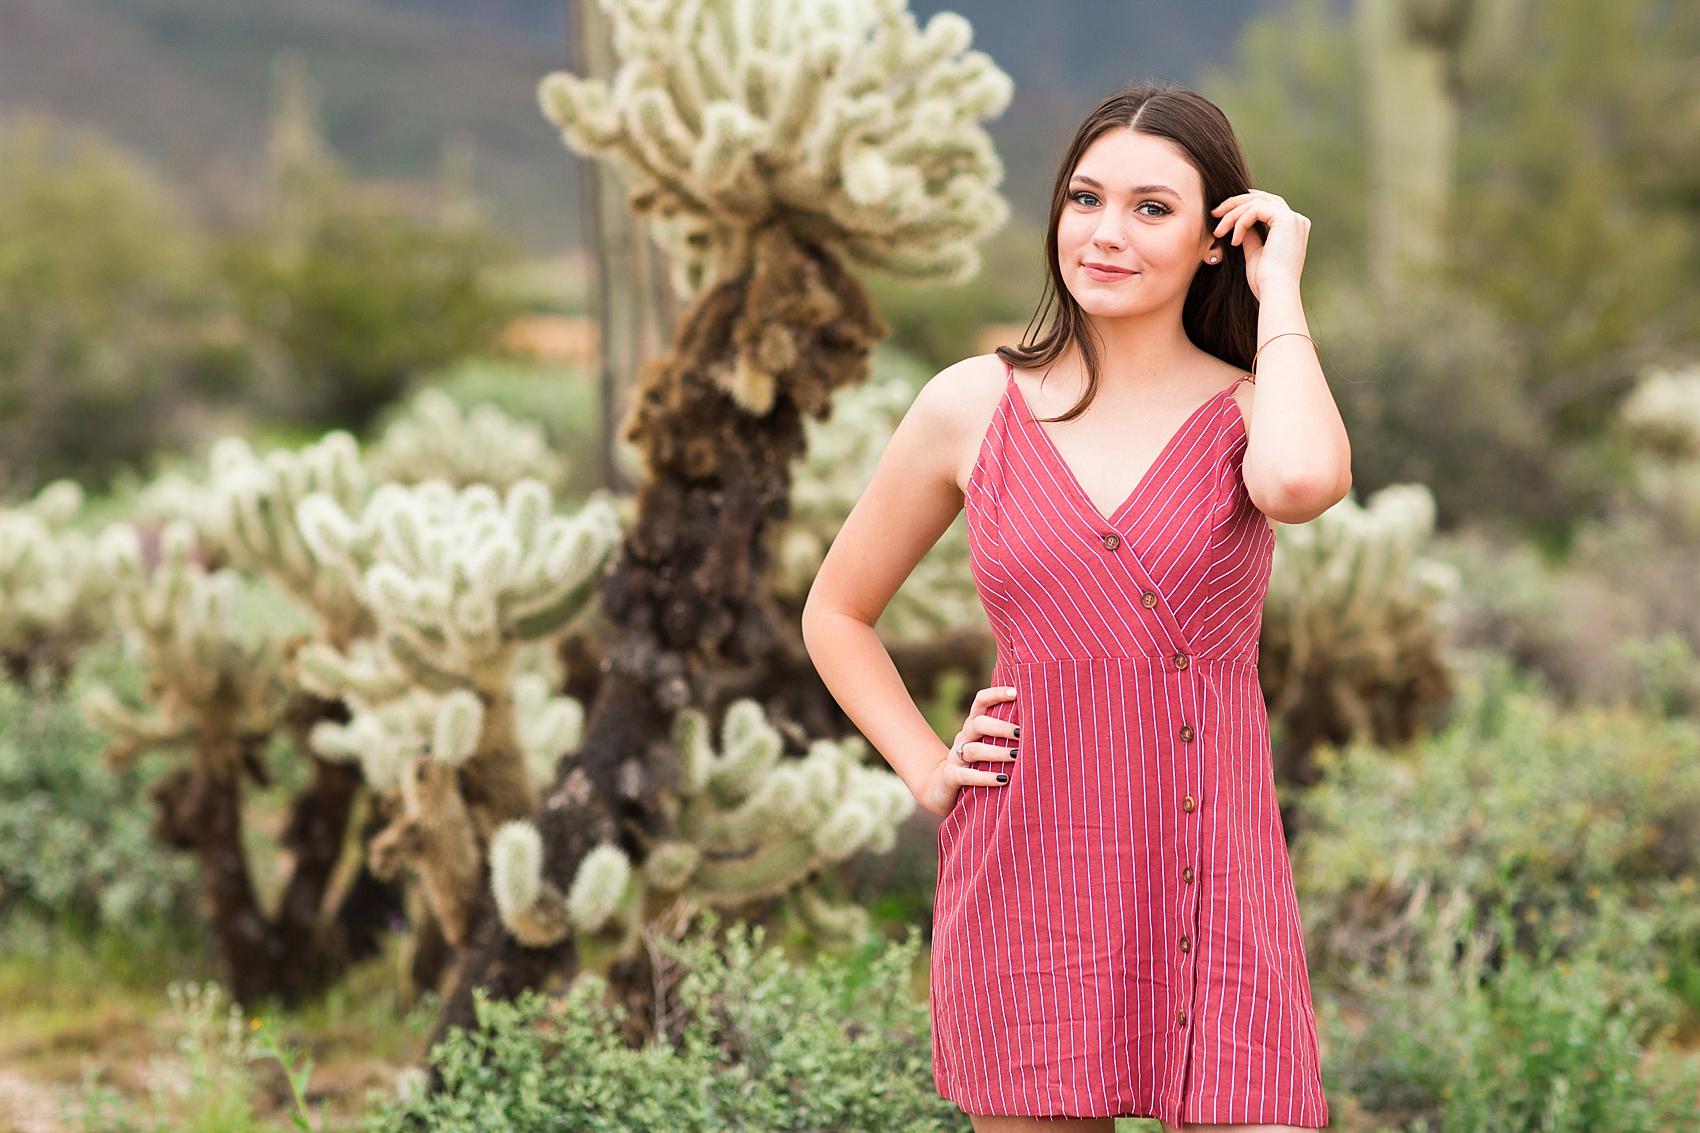
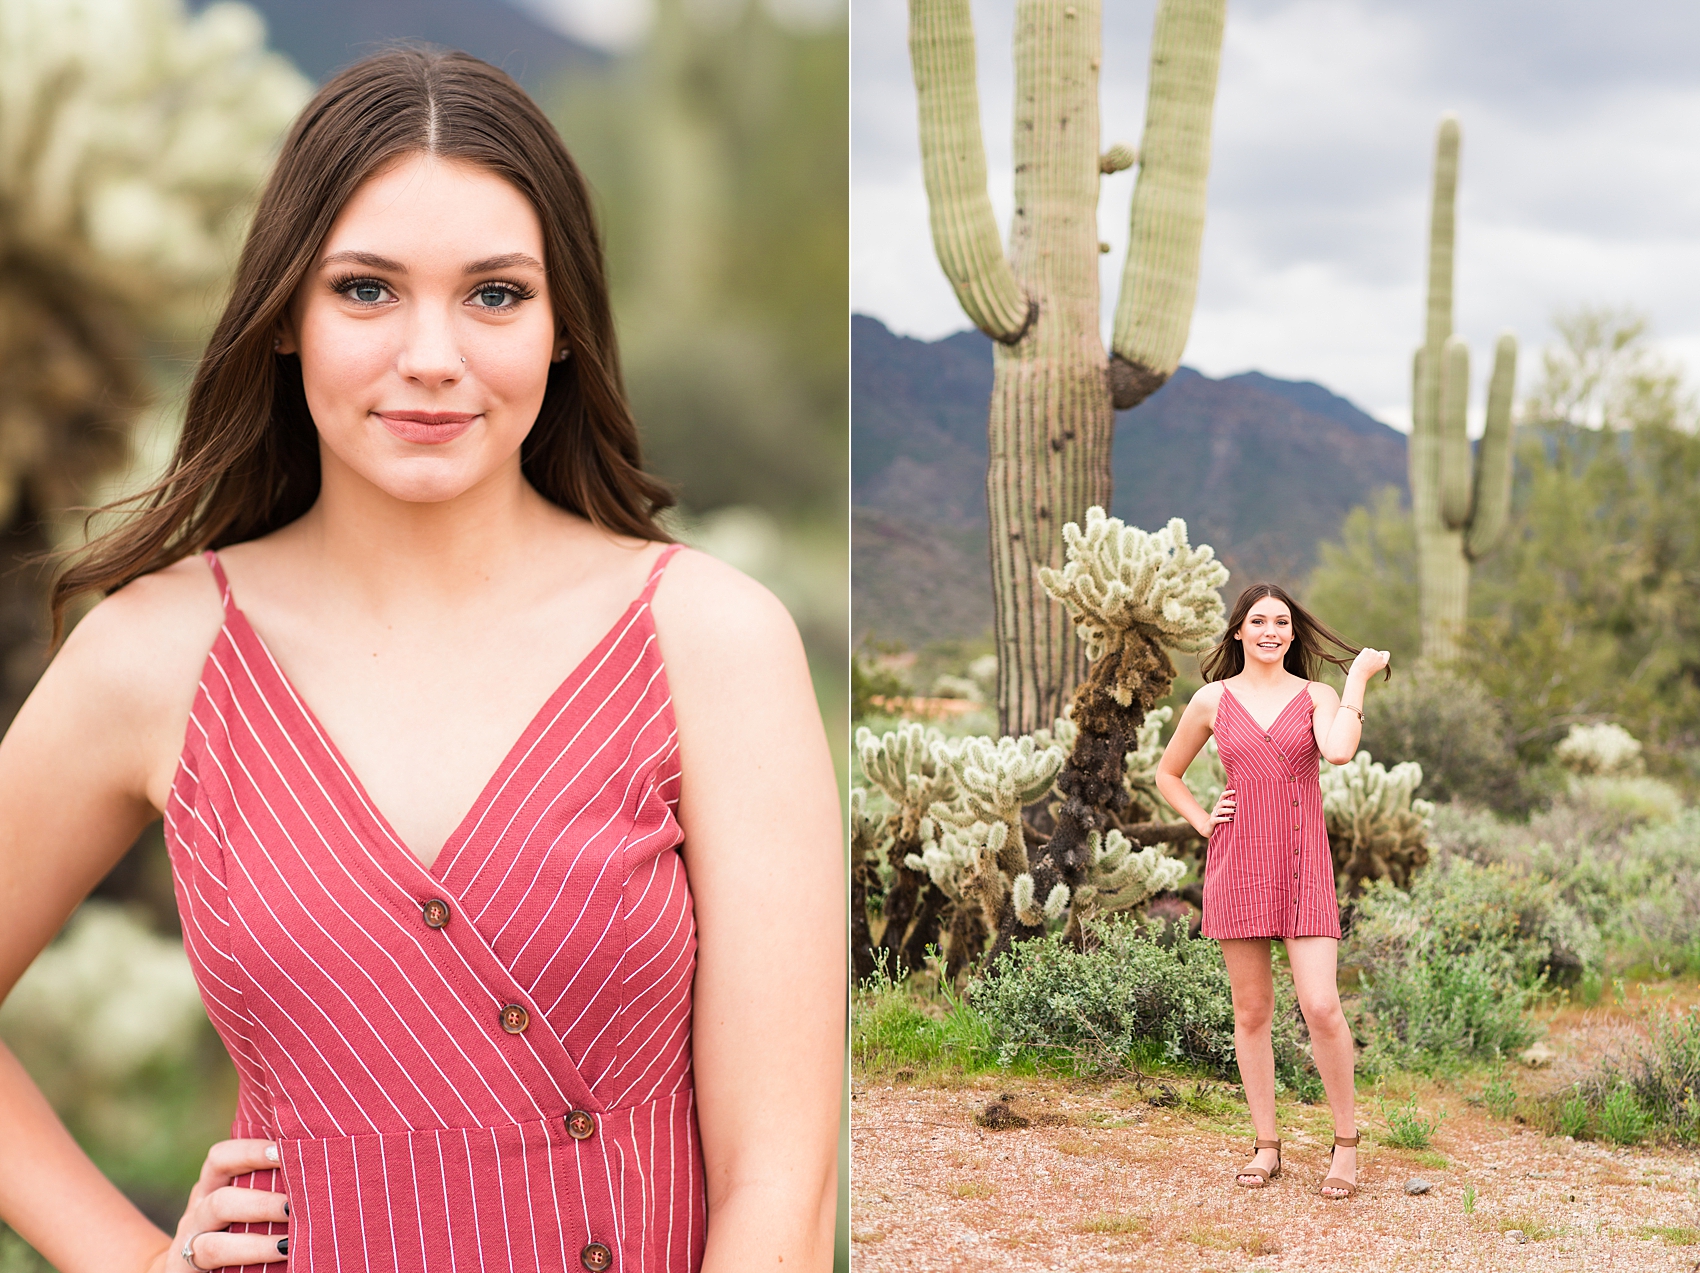
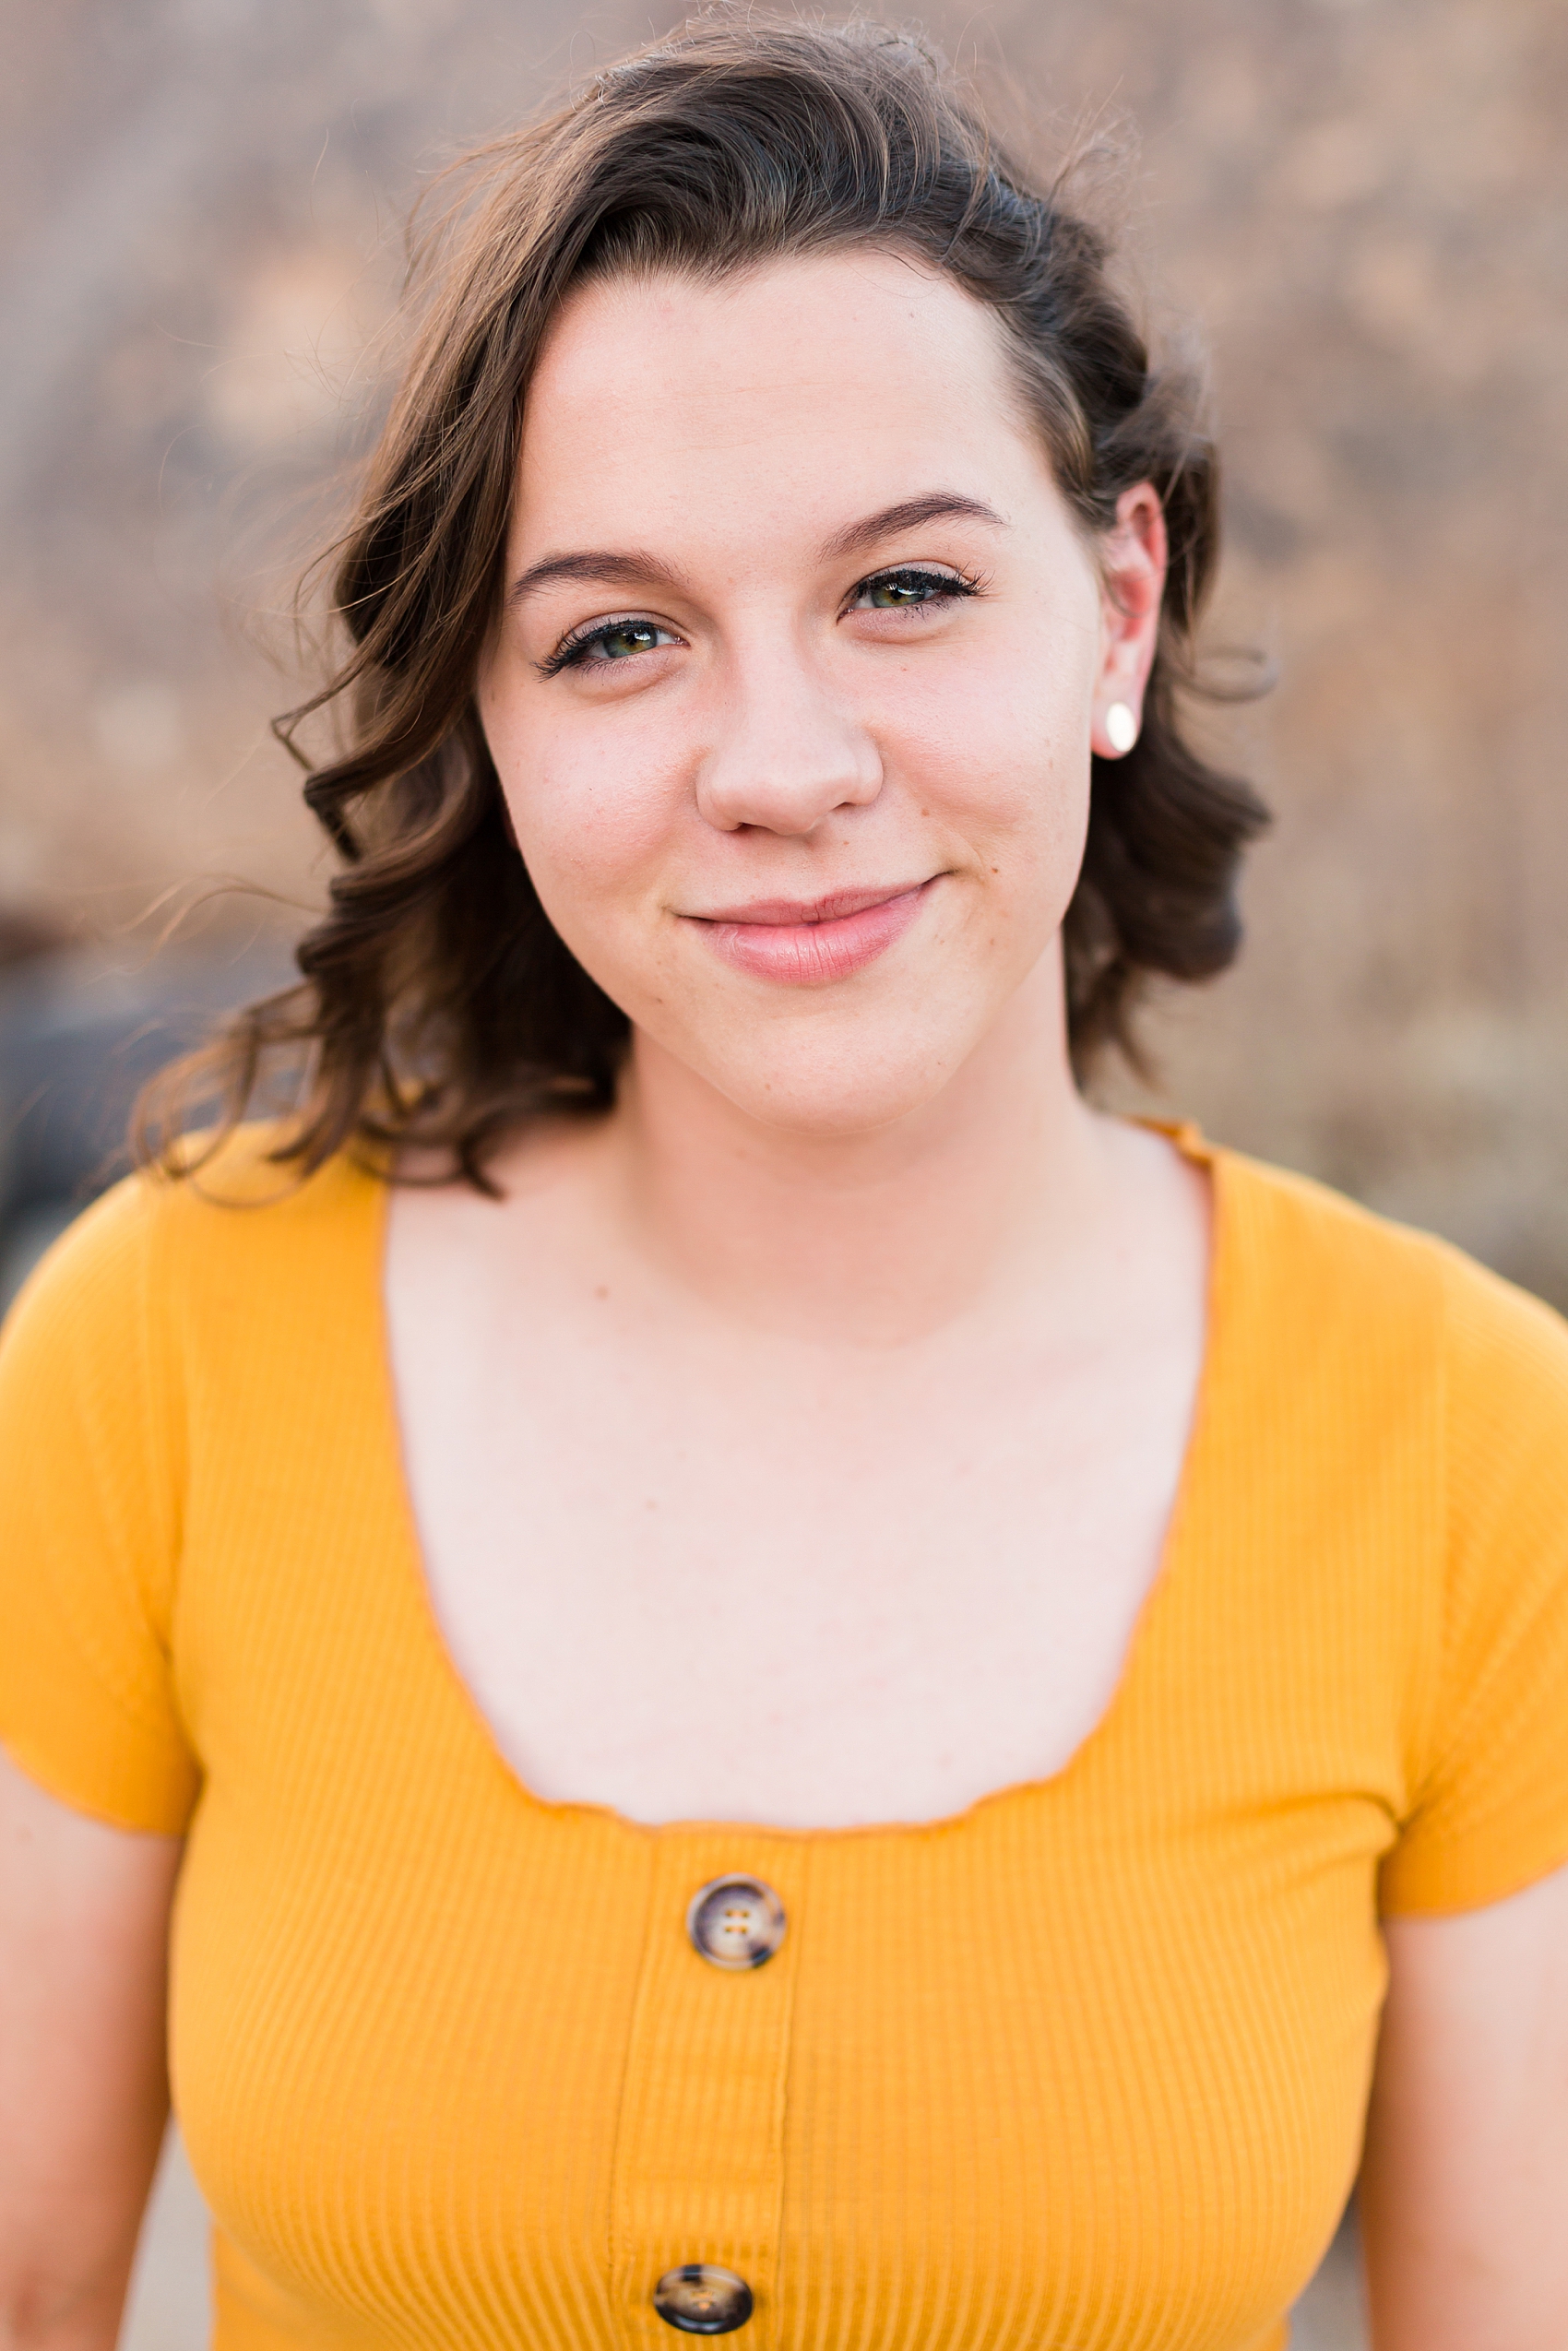
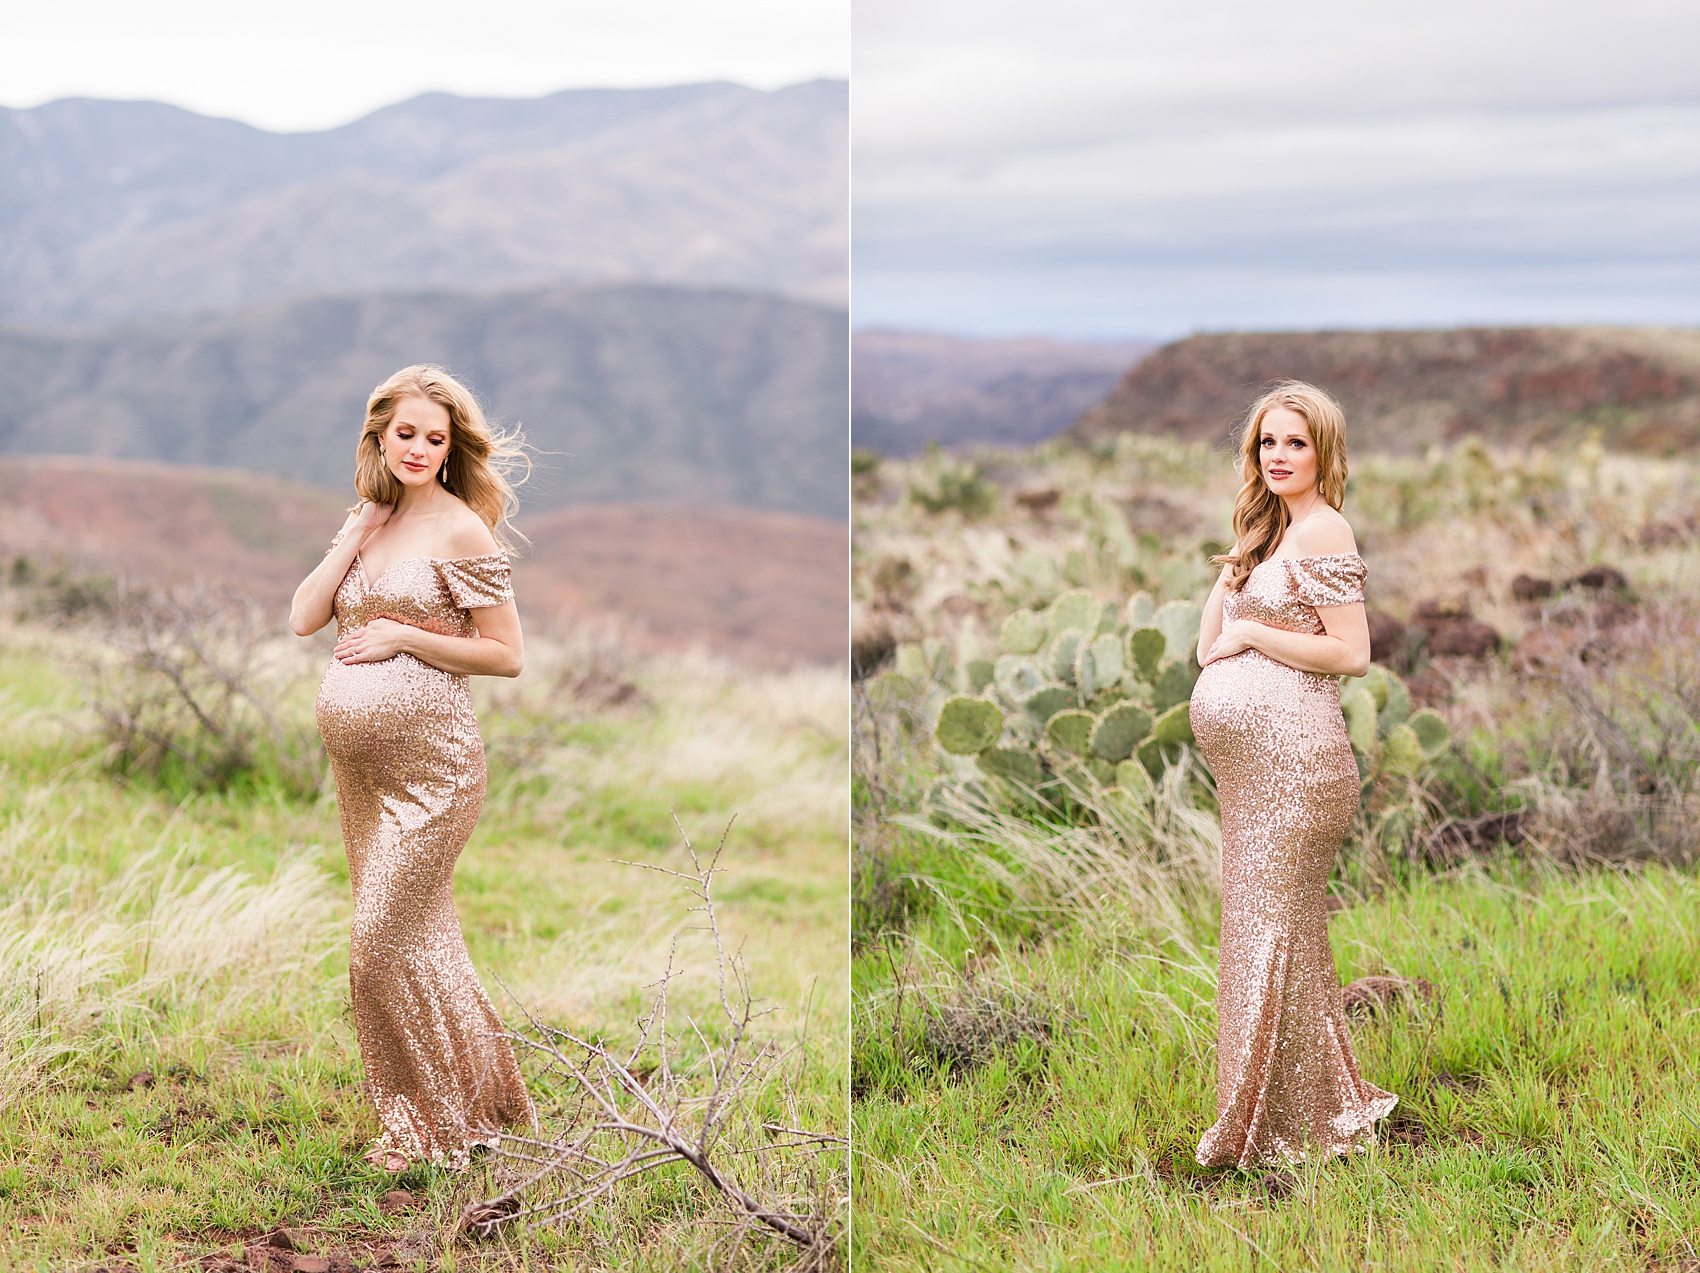
The photos below show you that direction still matters on an overcast day. It’s easy to think the lighting will be the same everywhere, but it’s not. The photo on the left was taken with the hidden sun behind the subject. And the photo on the right was taken with the light source (hidden sun) facing the subject. I wanted to get some photos with the mountains in the background, but the most flattering, even and glowy light is found in the photo on the right. And those were my favorite photos from the session! The mountains are a beautiful view, but I chose to prioritize lighting over background.
INDOORS
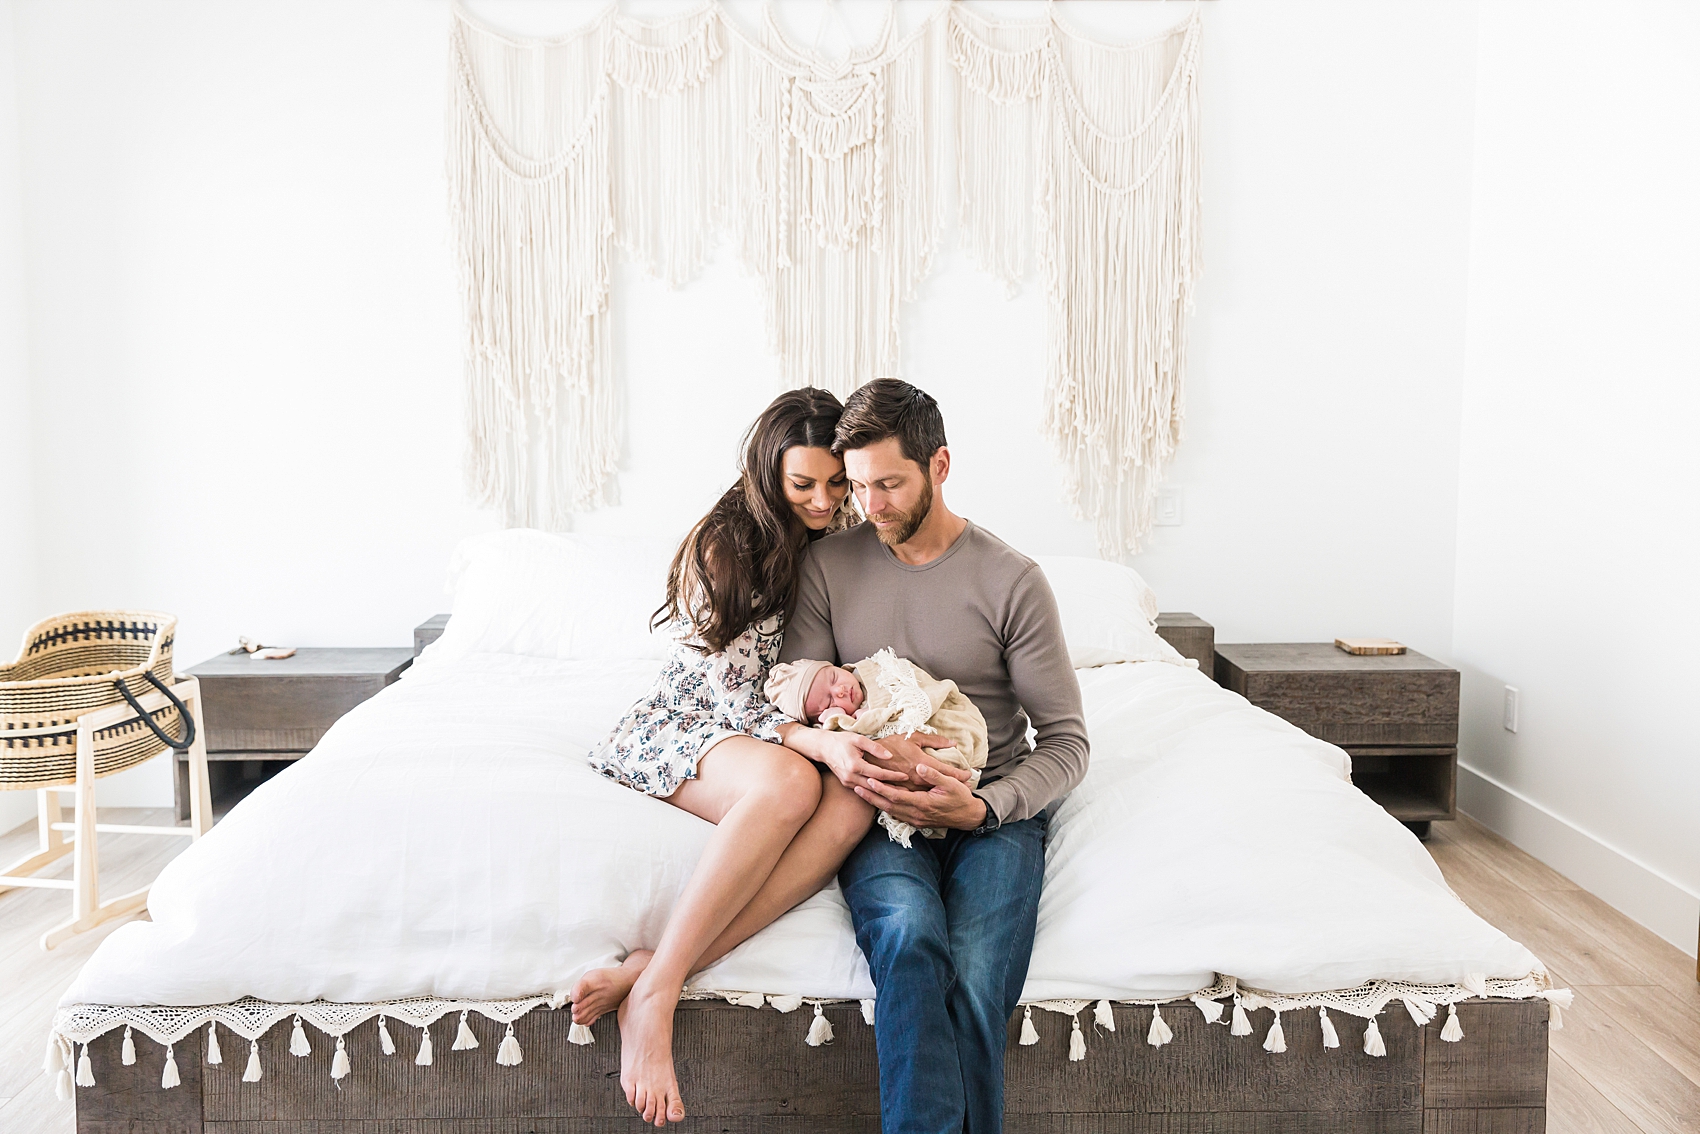
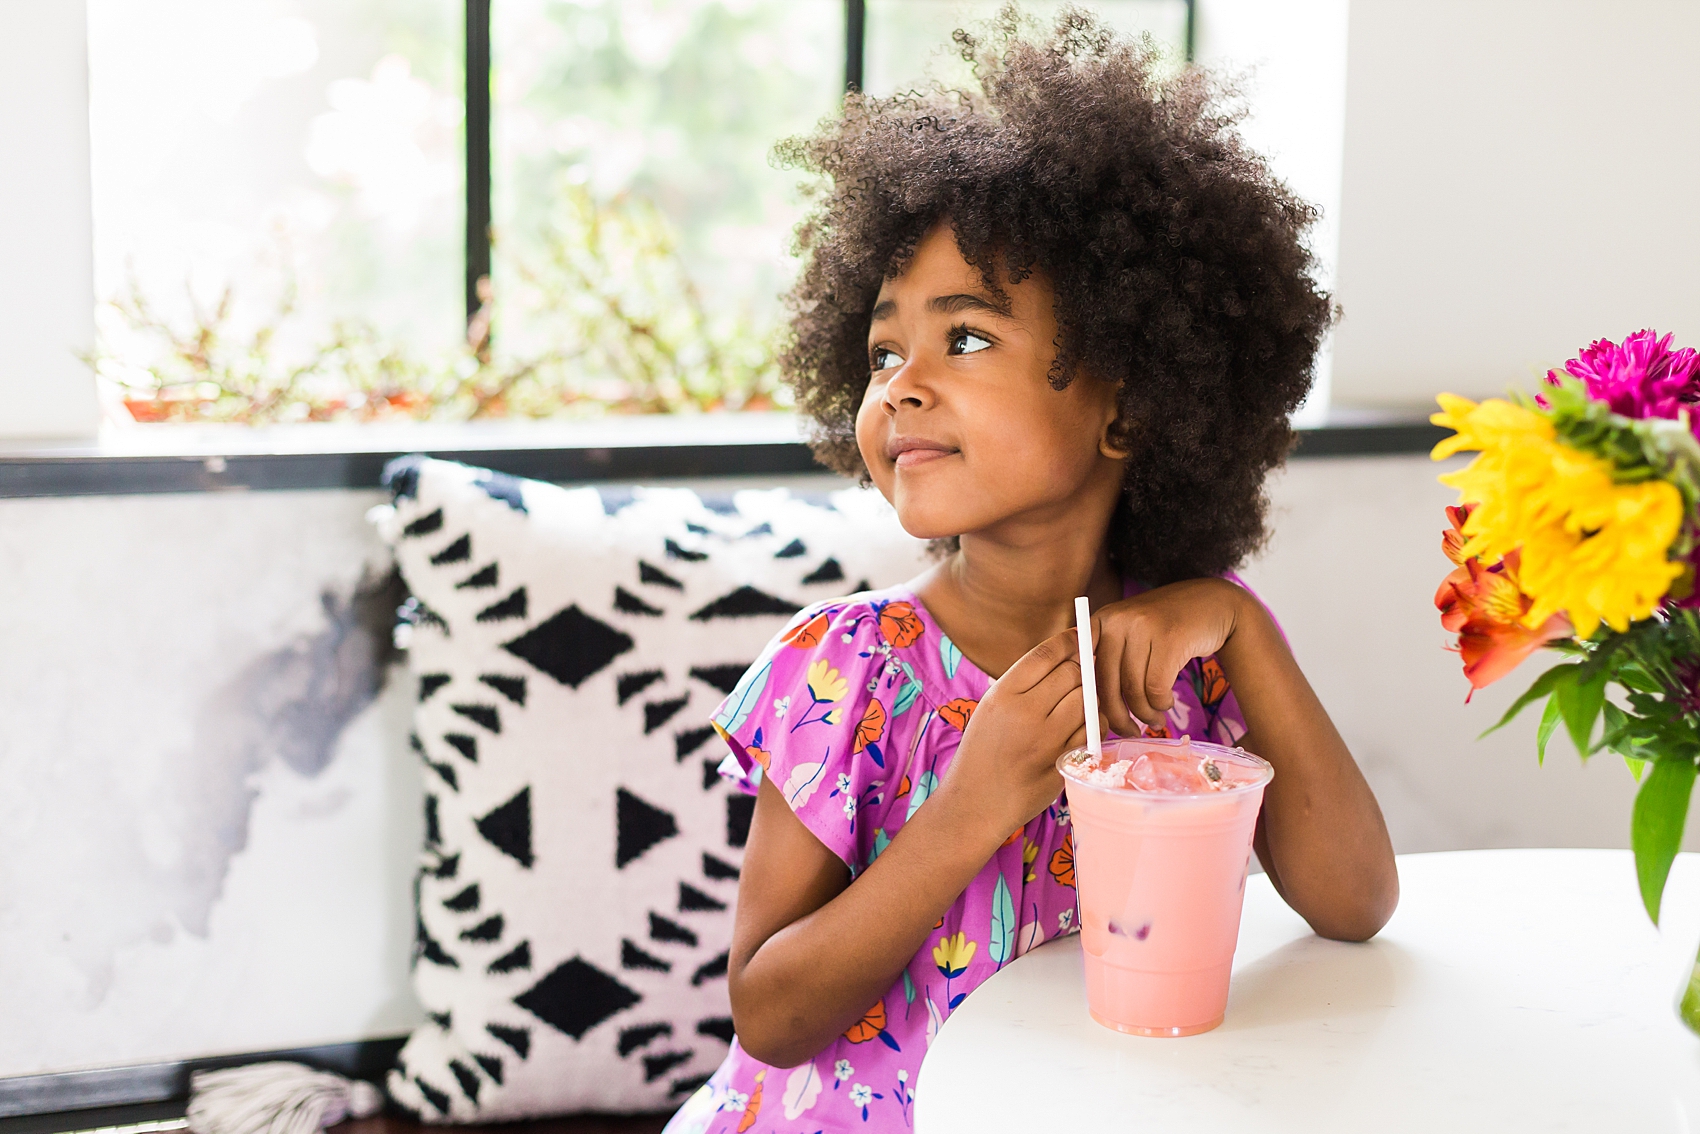
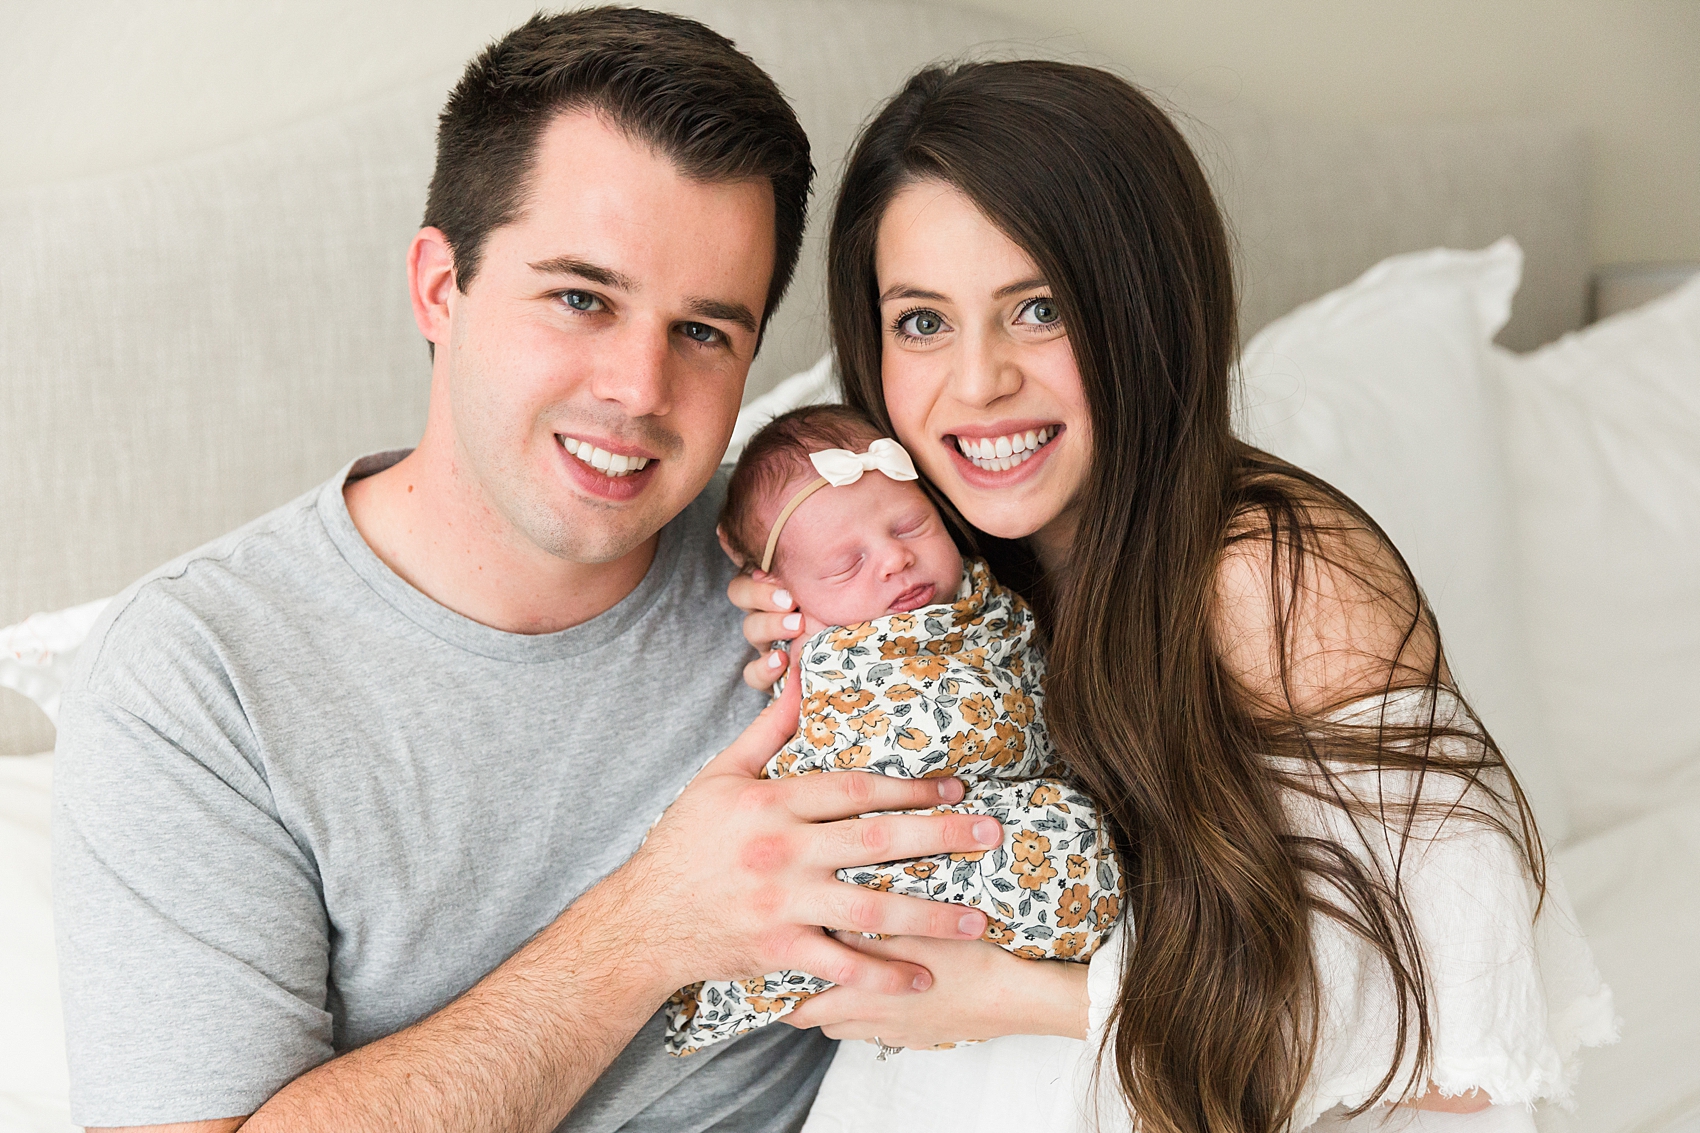
When you’re indoors, you’ll do the same thing. Find the light source. It will be a window or glass door that is letting the sun in. And face your subjects towards it. Even if you’re in a well-lit room and it feels like you could shoot anywhere, the most flattering light will still be where the glow from the light source can be as even on them as possible! And to do this, I put more thought into the direction my subjects are facing than the background.
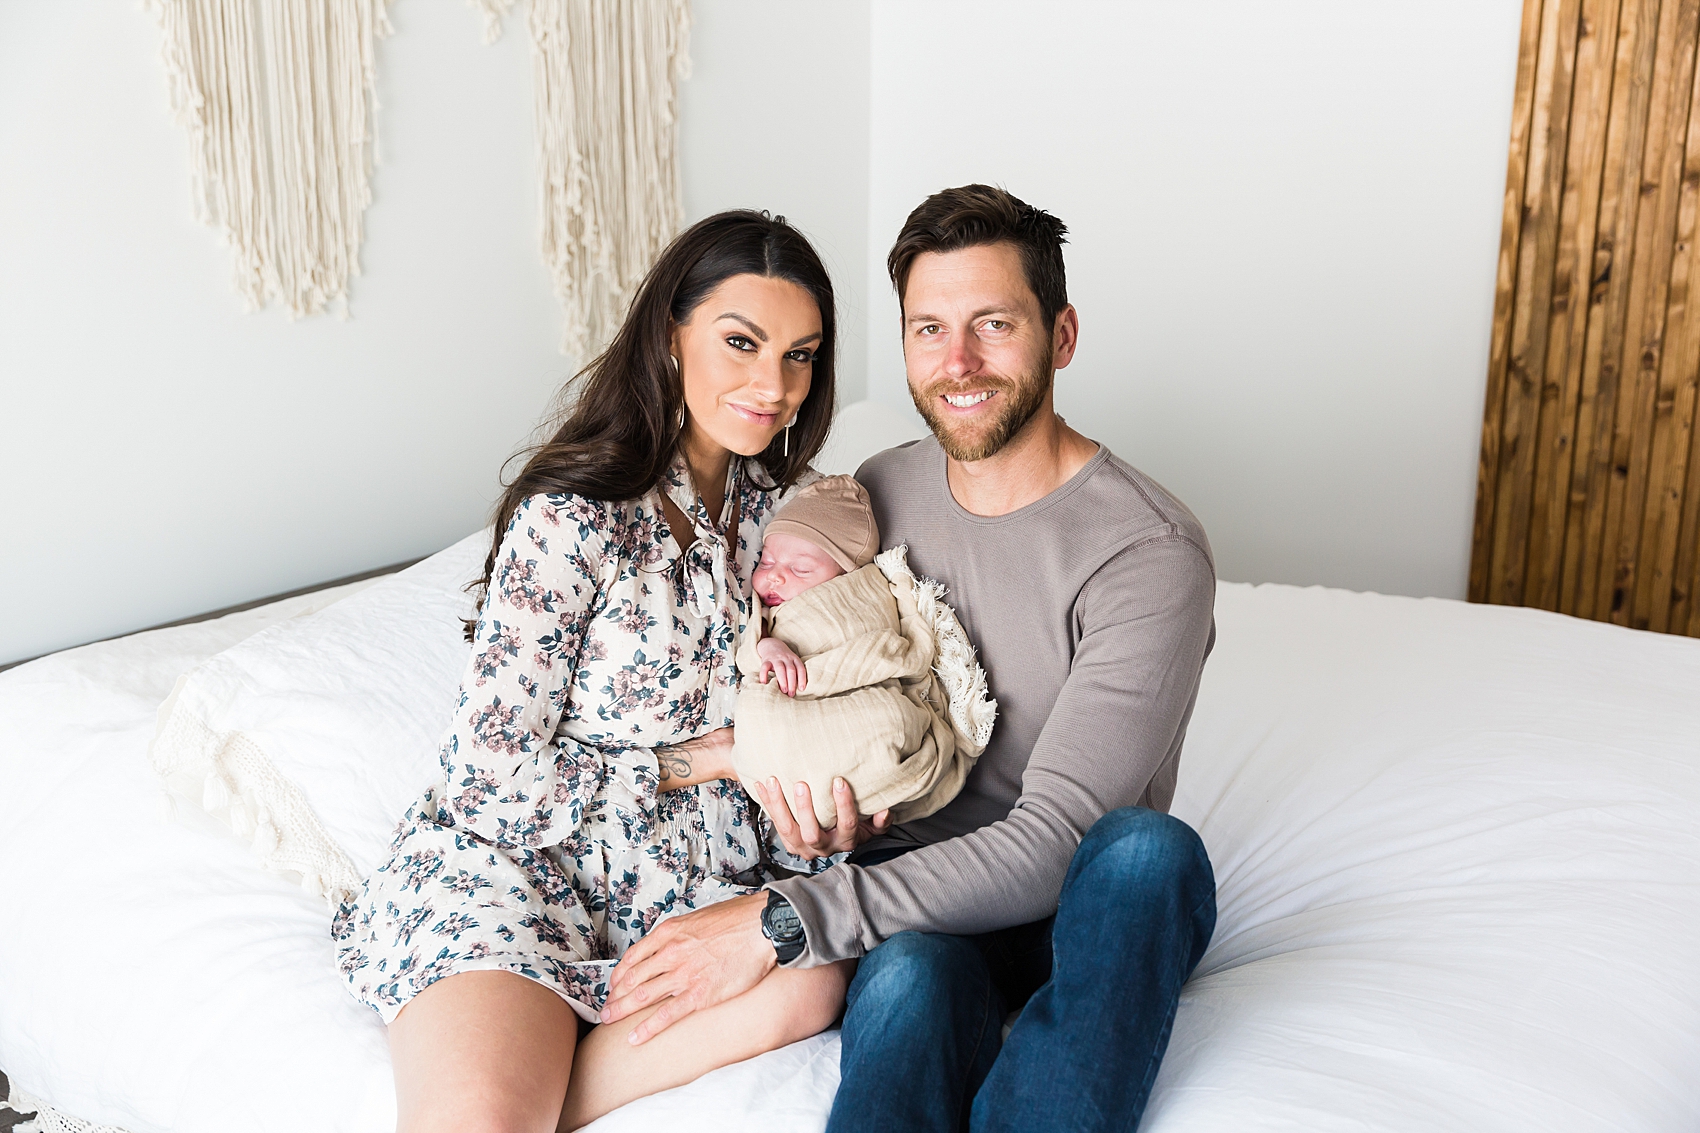
See these photos of the same little family in the same room? The photo above was taken with them facing the sliding glass doors in their bedroom. The photo below was taken with them facing a wall. The room is incredibly well-lit with natural light and white walls as reflectors. However, you can still see how much direction matters. Although the shot that shows more of the bedroom and the decorations on the wall is a well taken photo, it flatters the room more than it flatters them.
AFTER SUNSET
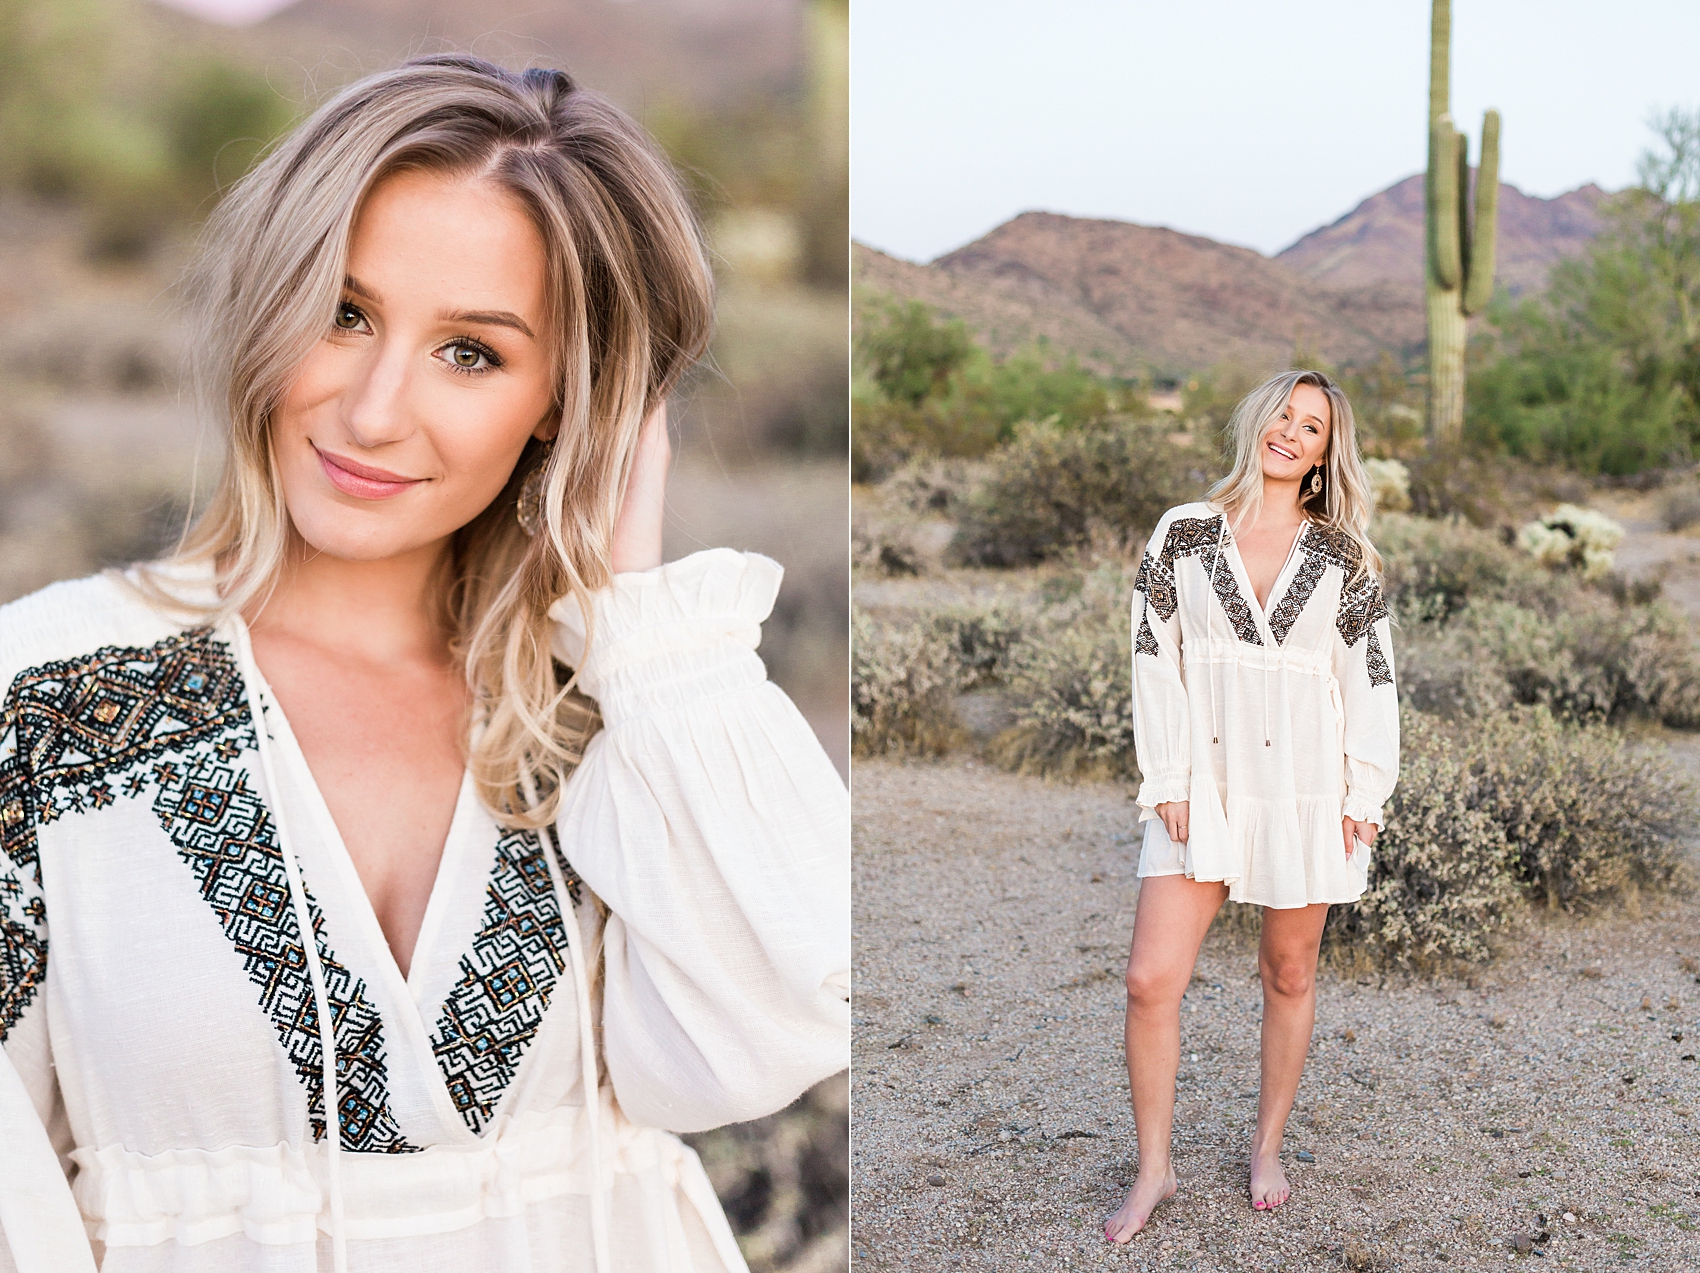
Lastly, when the sun has set there is no more need for backlighting. There’s also not enough light left on their face when their back is towards where the sun just set. So, you’ll want to flip your subjects around. If you trade places with them, it gives you the chance to use that last bit of sunset light to add a glow to their face. It’s one of my favorite types of lighting! There is something so dreamy about it that I just love!
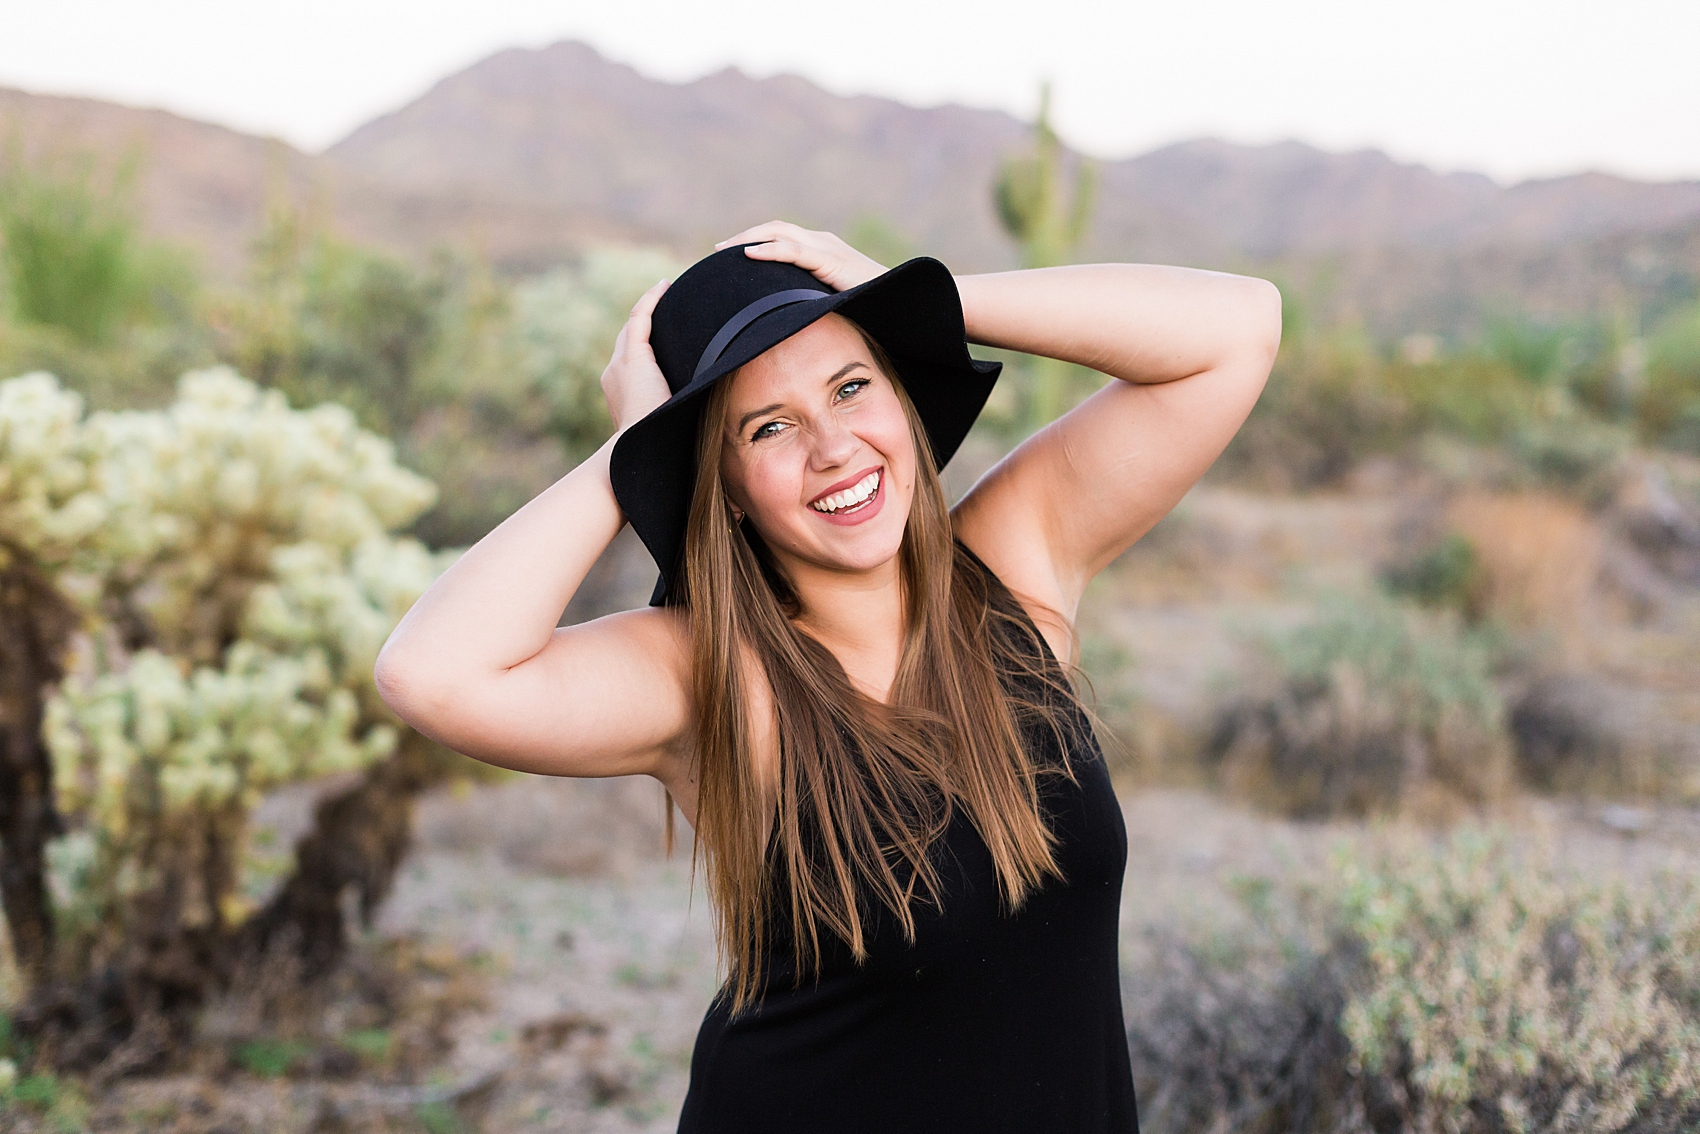
These are my top tips when you’re shooting to flatter your clients! These aren’t the only ways to use light. And I’m not claiming they’re even the best ways to use light to make a beautiful image. But, I do believe they’re the best ways to flatter your subject. And if that’s your goal when shooting, like it is mine, then apply these tips to make your client, and you, both look good! ;)
More resources:
3 Styling Tips For Your Clients
Why I Shoot in Kelvin
How I Use Pez Dispensers
How to Add Personality to Your Website
Leave a Reply Cancel reply
let's be friends!
portrait photographer serving SCOTTSDALE, AZ and BEYOND
back to top
*ALL THE NATURE PHOTOS FEATURED ON MY WEBSITE ARE AVAILABLE FOR PURCHASE IN MY PRINT SHOP.
I met you at Julie’s meeting a few months ago. Since then I’ve been following your Instagram and loving you photos! Your coloring is absolutely stunning and what I hope to achieve some day!
Thank you for adding these sections for inspiring photographers. For me I’ve found a lot of groups but not a lot of friends in the business. I know photographers don’t usually offer up tricks or allow other new comers to tag along so this insight is so nice and your attitude is so refreshing.
I absolutely love this section on lighting! I want so badly to learn this but struggle so much with natural light!!!
Thank you so much Jessica! That means so much to me! I’m grateful to have you following along and happy that you’ve found value in these resources!
Colors and skins tones can be tricky! And I do think that lighting is what makes all the difference! These suggestions and tips should help you use light in the most flattering way for your subjects! And if you’re still having a hard time implementing them, reach out and I’d love to try to help! :)
Wow! This is the most informative blog post I’ve read in a long time! and it all makes so much sense.. to the point where I wonder why I didn’t think of this on my own! Haha
This is the first time I’ve read your blog, but it most definitely wont be the last.
Thanks so much for being such a valuable resource for educating us rookie photographers!
Hi Emily!
Oh my goodness, you are so sweet! It makes me so happy to hear how helpful this post was! It truly consists of everything I wish I knew about lighting when I was starting in photography! :)